When we bought pumpkins a few weeks ago, I was too eager to wait to carve them. I had been looking up various ways to preserve pumpkins, so I thought I’d try a few pumpkin carving and preserving methods since we had a while before Halloween.
Ideally, you should wait to carve pumpkins a few days before Halloween or when you want them to look their best; a day before or day of your Halloween Party is preferred. But if you’re like me and want to light up your pumpkins every night before Halloween, you could try a few methods to lengthen their lifespan.
Pumpkin Carving Techniques
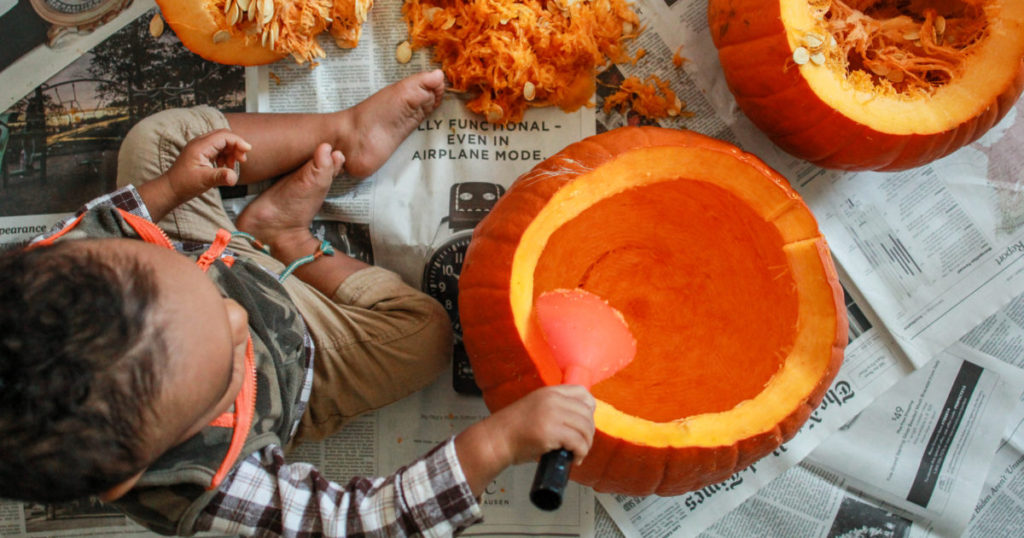
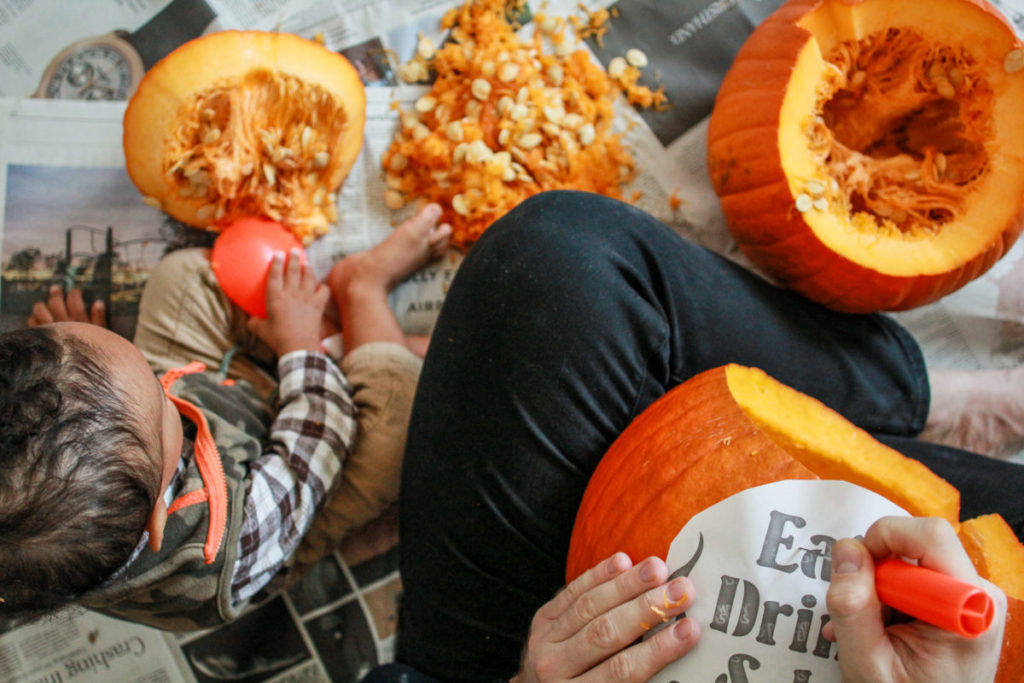
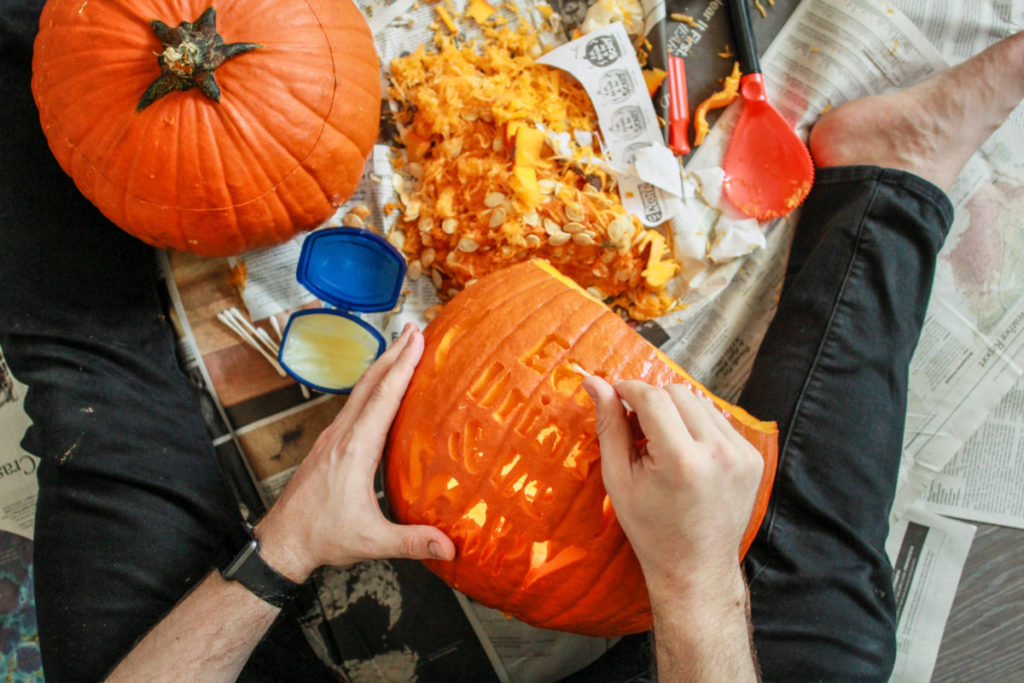
Whenever we get those Pumpkin Masters carving kits, I never read them. I just flip to the design and start carving. However, the books now (or at least I just noticed) have very detailed instructions on the perfect way to carve the pumpkin. Each design shows you the order in which you should carve out your pumpkin. Following the instructions, I cut out the design from the book, dampened it, applied it to the pumpkin, and wrapped plastic wrap around it. It was the easiest thing to do! I did this for three of my four pumpkins.
On the fourth pumpkin, I tried to use a rubber mallet and cookie cutters. While hammering in the second cookie-cutter, it cracked my pumpkin. I see this method all over Pinterest, so fair warning: try this at your own risk.
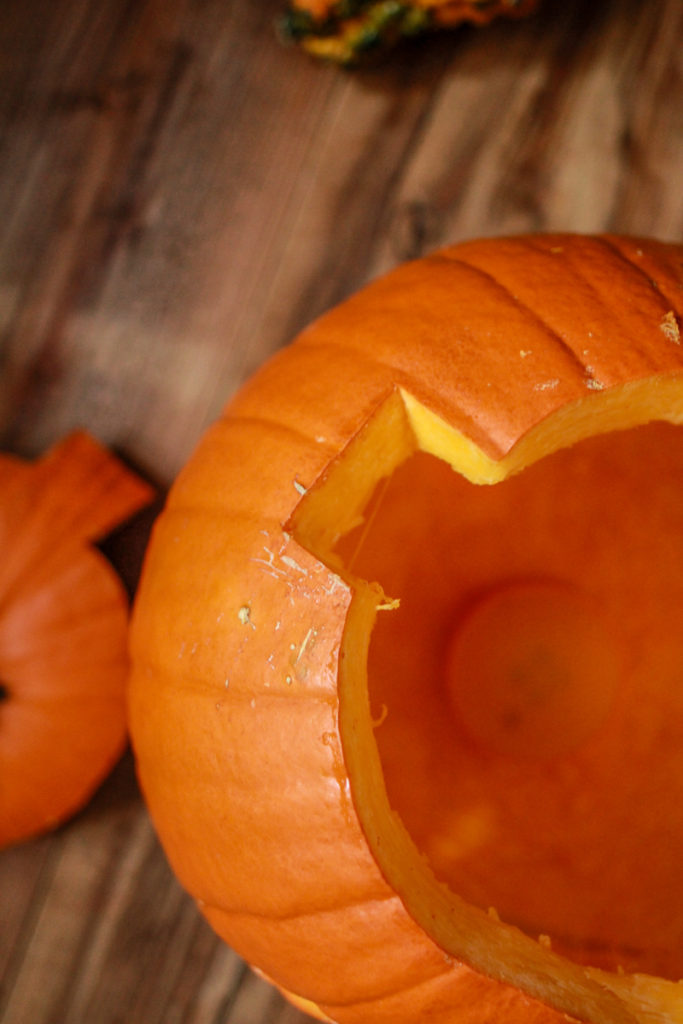
When first carving the top off, cut a notch so you always know which way it’s supposed to sit when you put the top back on the pumpkin.
Disinfect and Moisturize
Before I continue, please note my pumpkins remained inside, safe from weather conditions and bugs. These pumpkins just made it about 10 days before I had to get rid of them. About 8-9 days after being carved, mold began to form, and by day 10 I needed to throw them out.
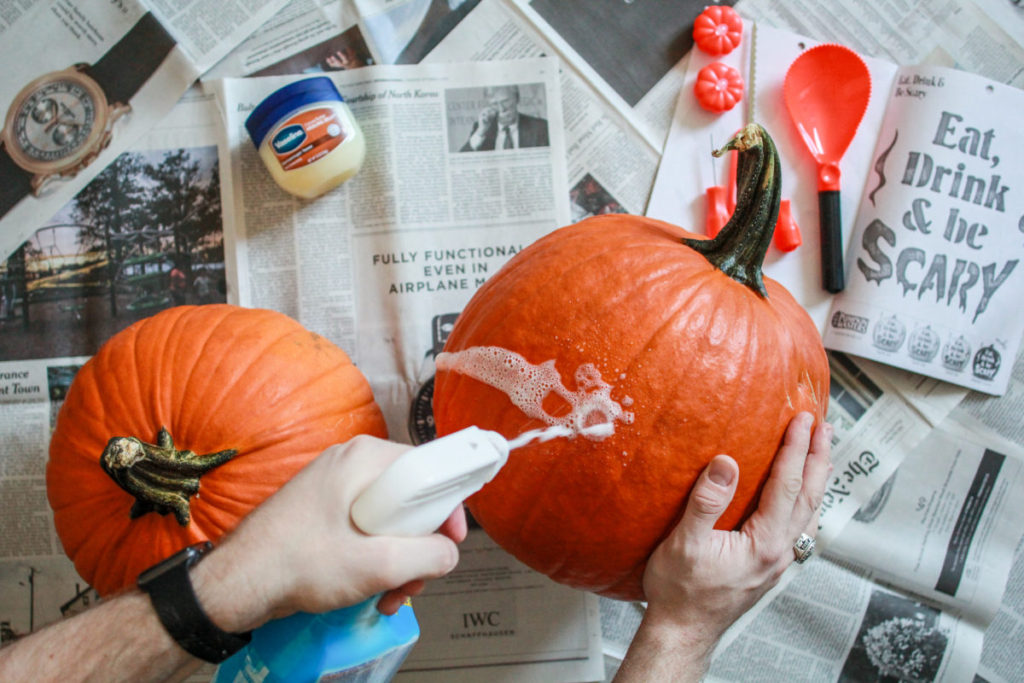
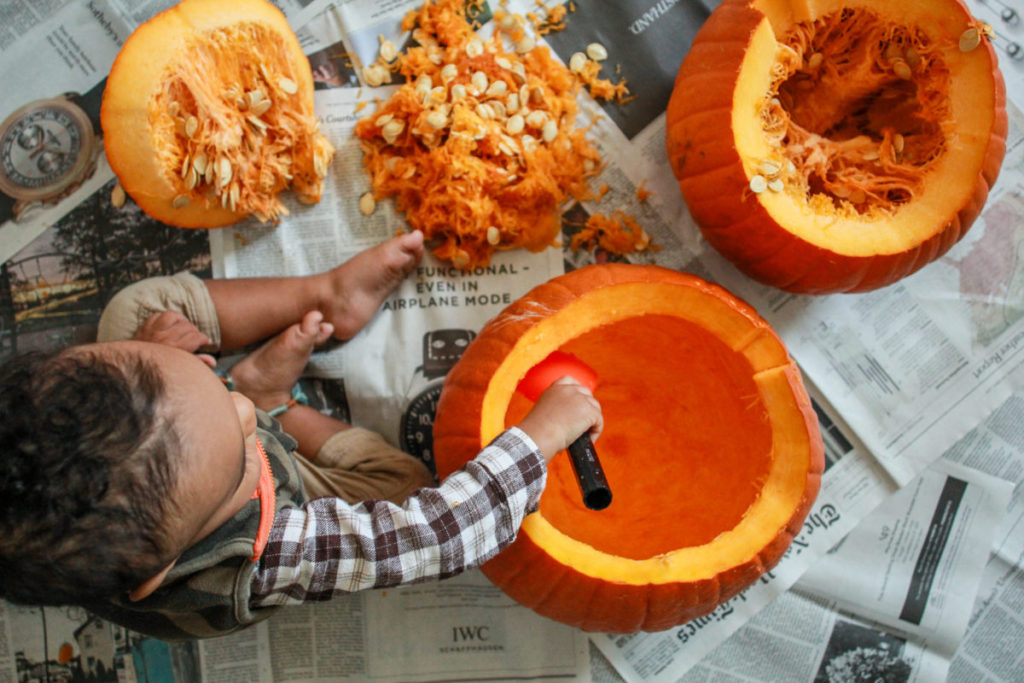
The first method I tried involved Clorox bleach and Vaseline. The Clorox to disinfect and kill any bacteria that may spoil your pumpkin sooner, and the Vaseline to maintain moisture. After cutting a hole in the top, I scooped out the insides, and then wiped the outside of the pumpkin with the Clorox. After carving, I applied Vaseline to the flesh of the pumpkin. All inside and throughout the carving.
Bleach, Lemon Juice, and Vinegar
By October 18th we were pumpkin-less. Overjoyed at being able to carve another set of pumpkins, I ran to the store the next day. This time, I carved the pumpkins and dipped them in a mixture of water and bleach (1 tsp bleach to 1 gallon of water). I rolled them around in the bathtub and took them out. Turn them upside down to dry out, and then brush a lemon juice and vinegar mixture (1 qt water + 1 tsp lemon juice + 2 tbsp vinegar) on the flesh. Sorry I did not photograph this process. I had gloves covered in bleach and did not want to ruin anything! This second way gave my pumpkins more life than the first set. They lasted eleven days before the mold started to spread.
Pumpkin Lights
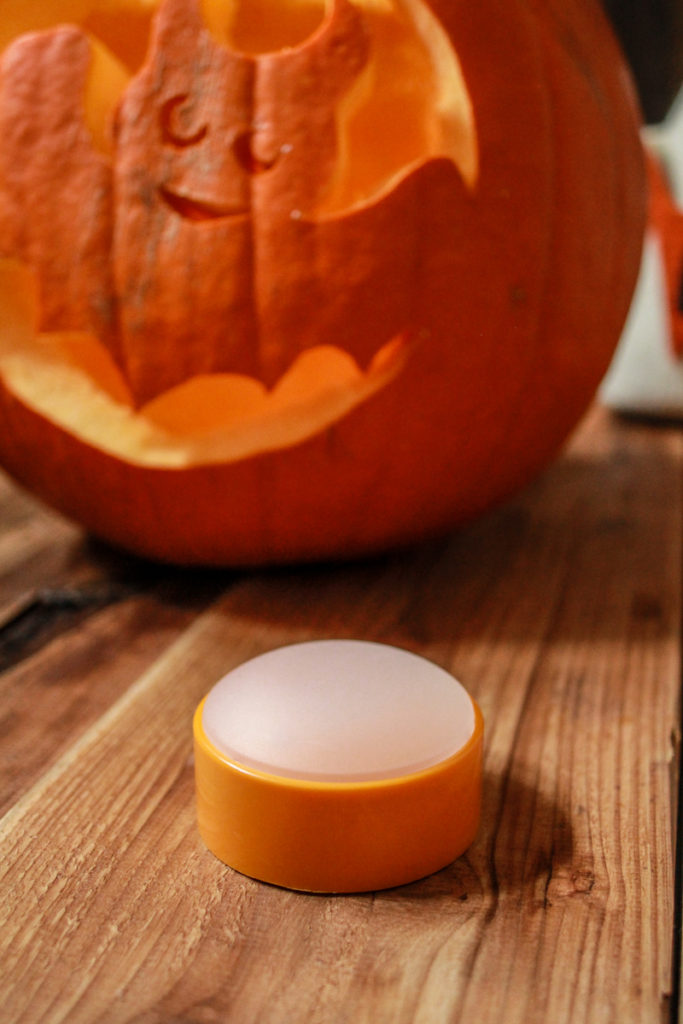
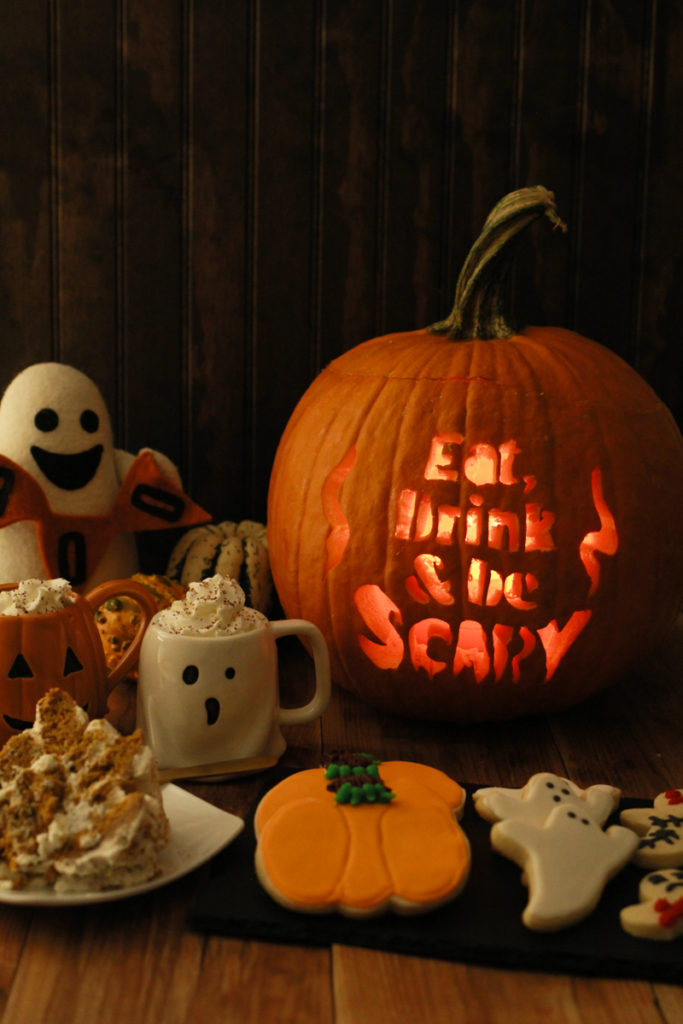
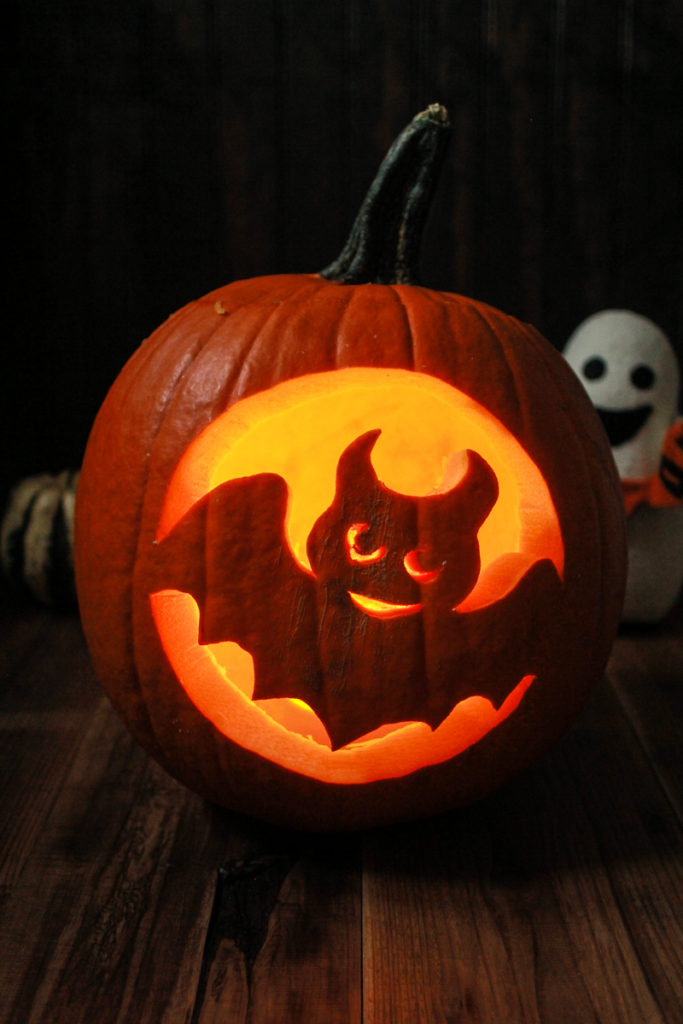
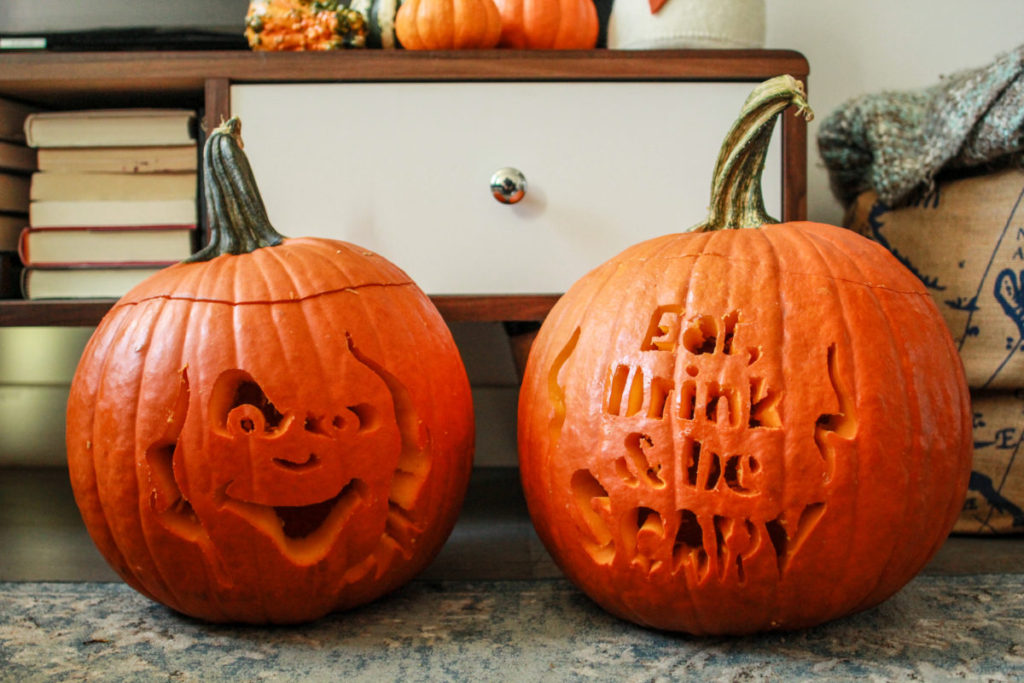
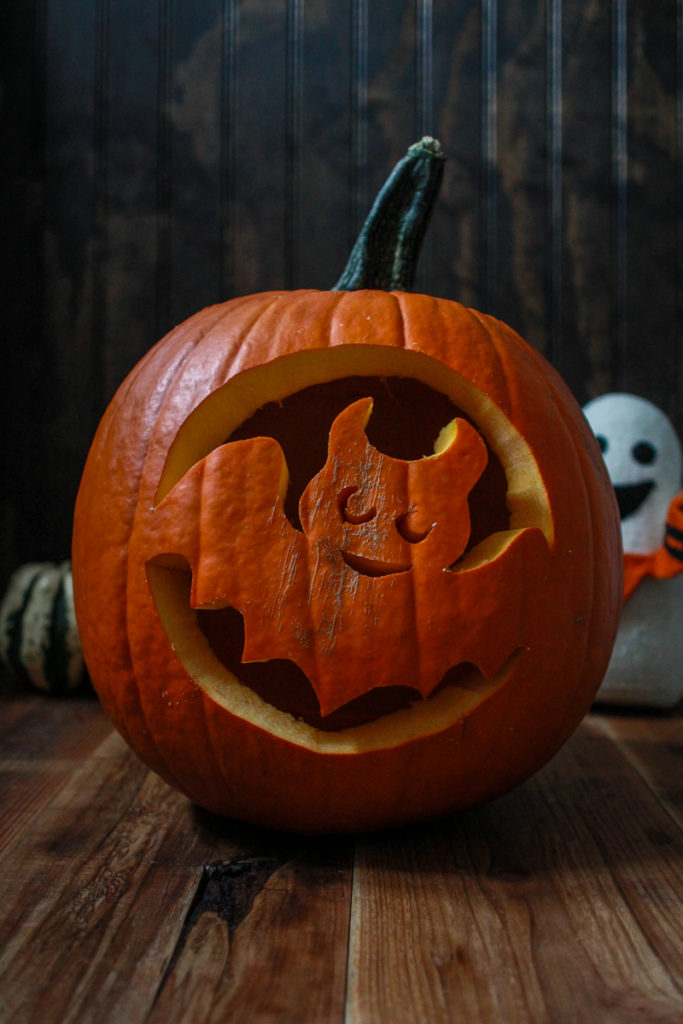
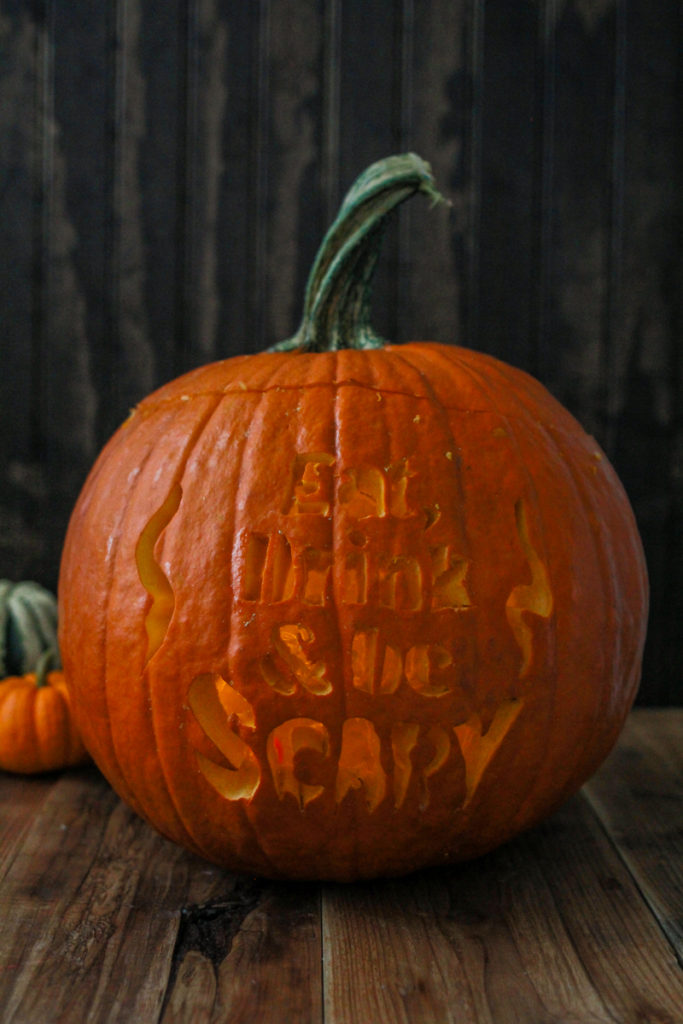
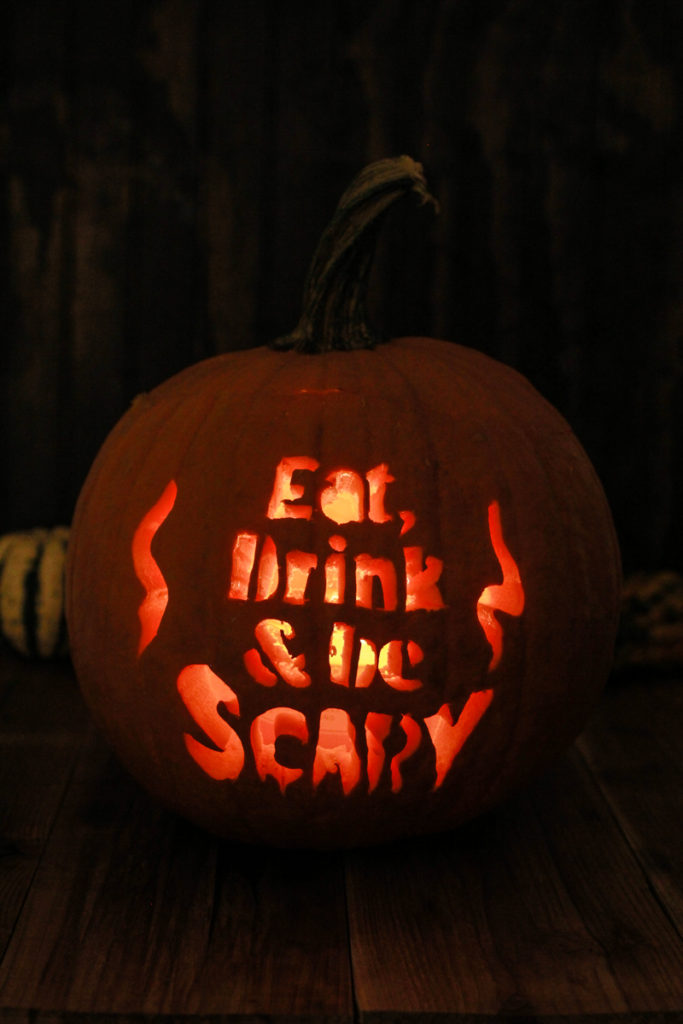
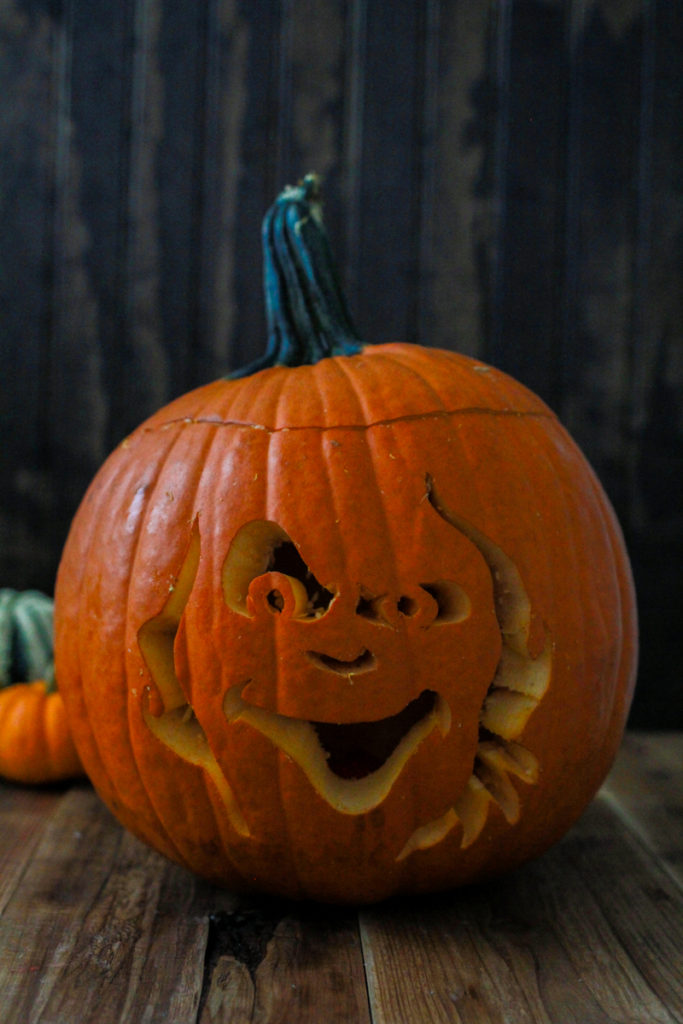
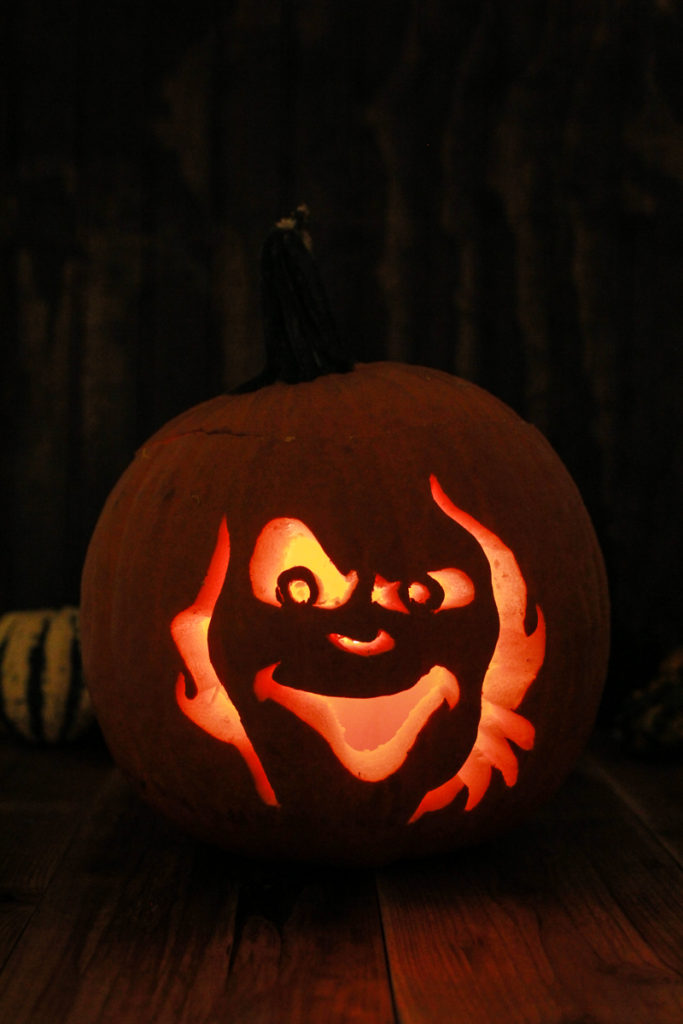
A candle is my favorite lighting choice in a carved pumpkin (candles used in the ‘Eat Drink Be Scary’ and the ghost face). However, we live in an apartment with no front porch, so I’ve been sticking to faux LED lights for the last eight years. I used to buy those little tea lights. I could not find a tea light that was bright enough for a pumpkin. The lights never look realistic because they are too orange or yellow, and if I could find them the next year, the batteries would be dead. No one likes changing those tiny flat batteries.
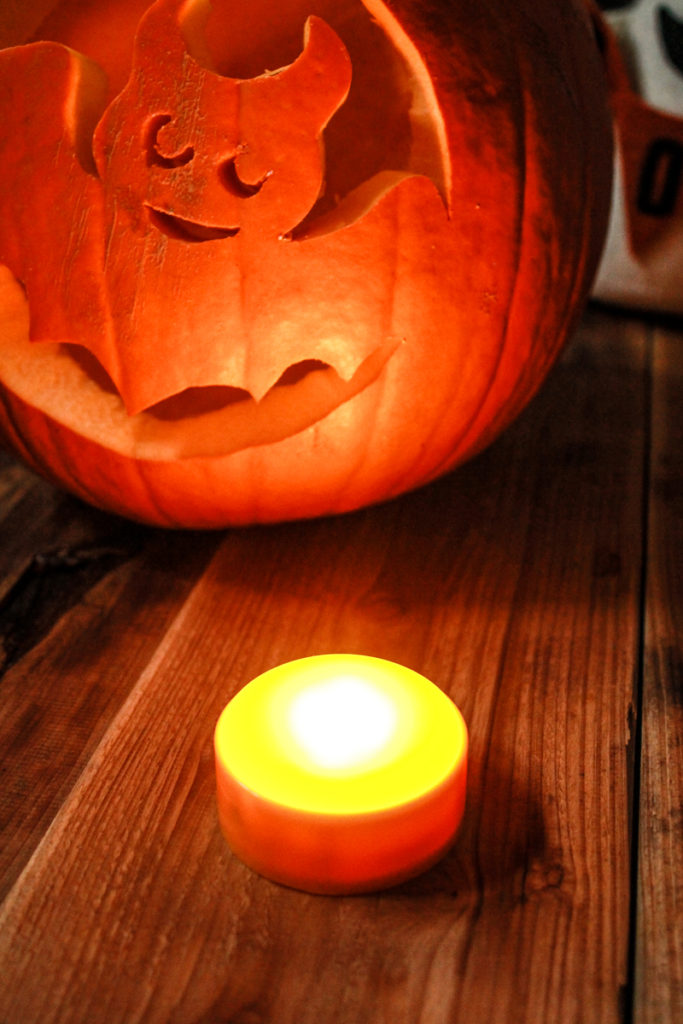
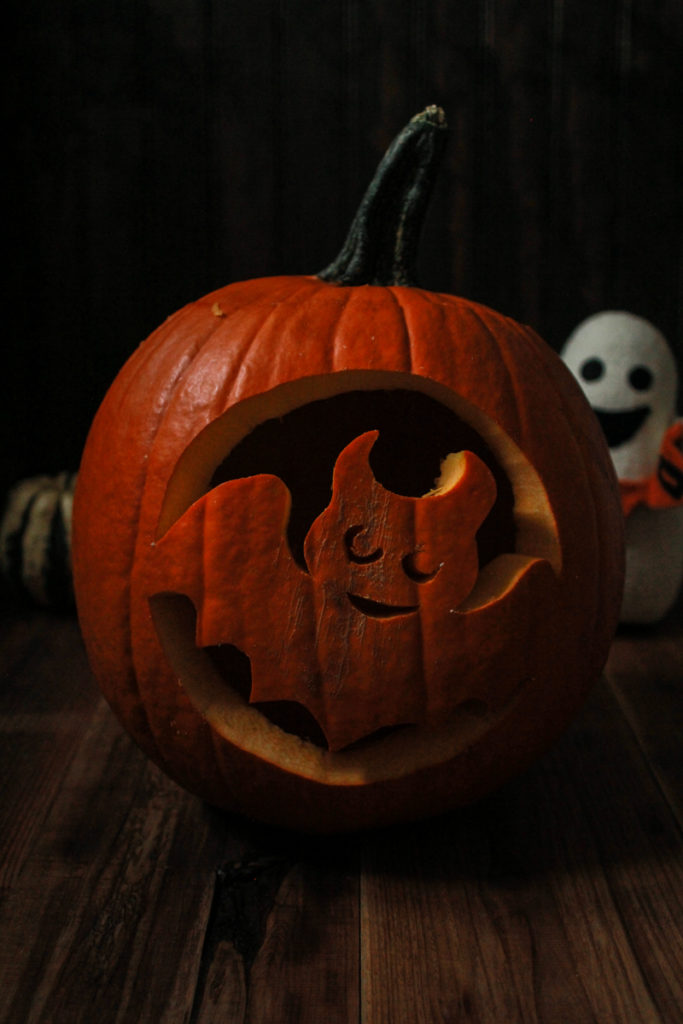
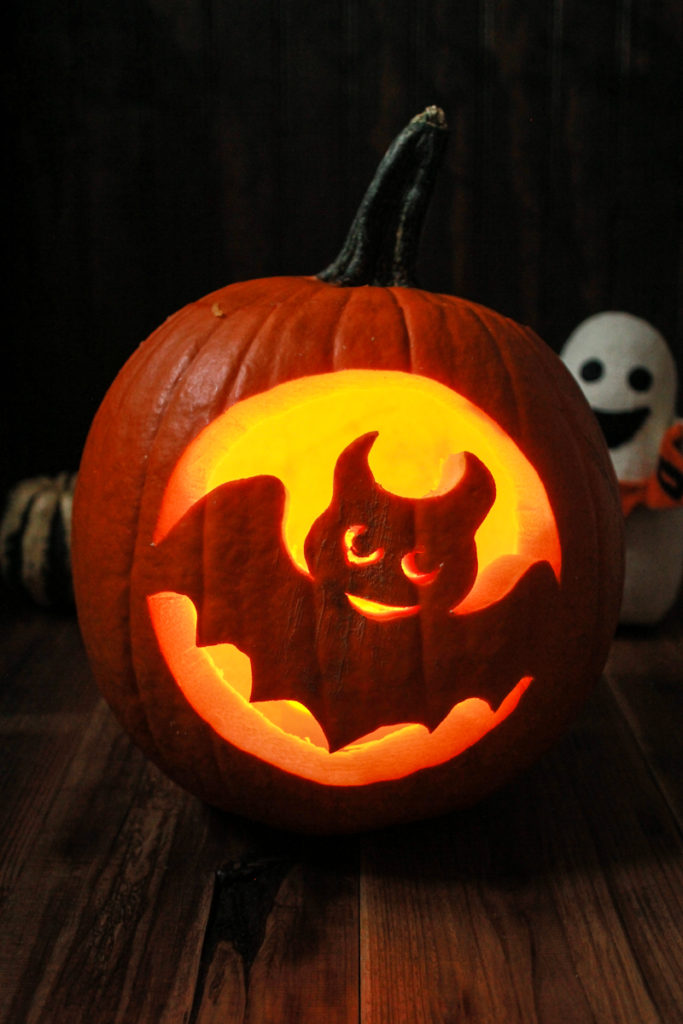
This year, I scoured Amazon for a set of lights that looked realistic; I found them (pictured in the bat pumpkin). They come as a pair, run on AAA batteries (so they’re easy to replace), and comes with a remote. The remote has many settings: flicker, steady, can adjust brightness/dimmer, and a timer to turn on/off. I love them. I didn’t think about it, but you could use these in luminaries or in replace of candles in other decorations (I’ll get back to you on this when Christmas rolls around).
The Stuff you need to carve and light up your pumpkin: