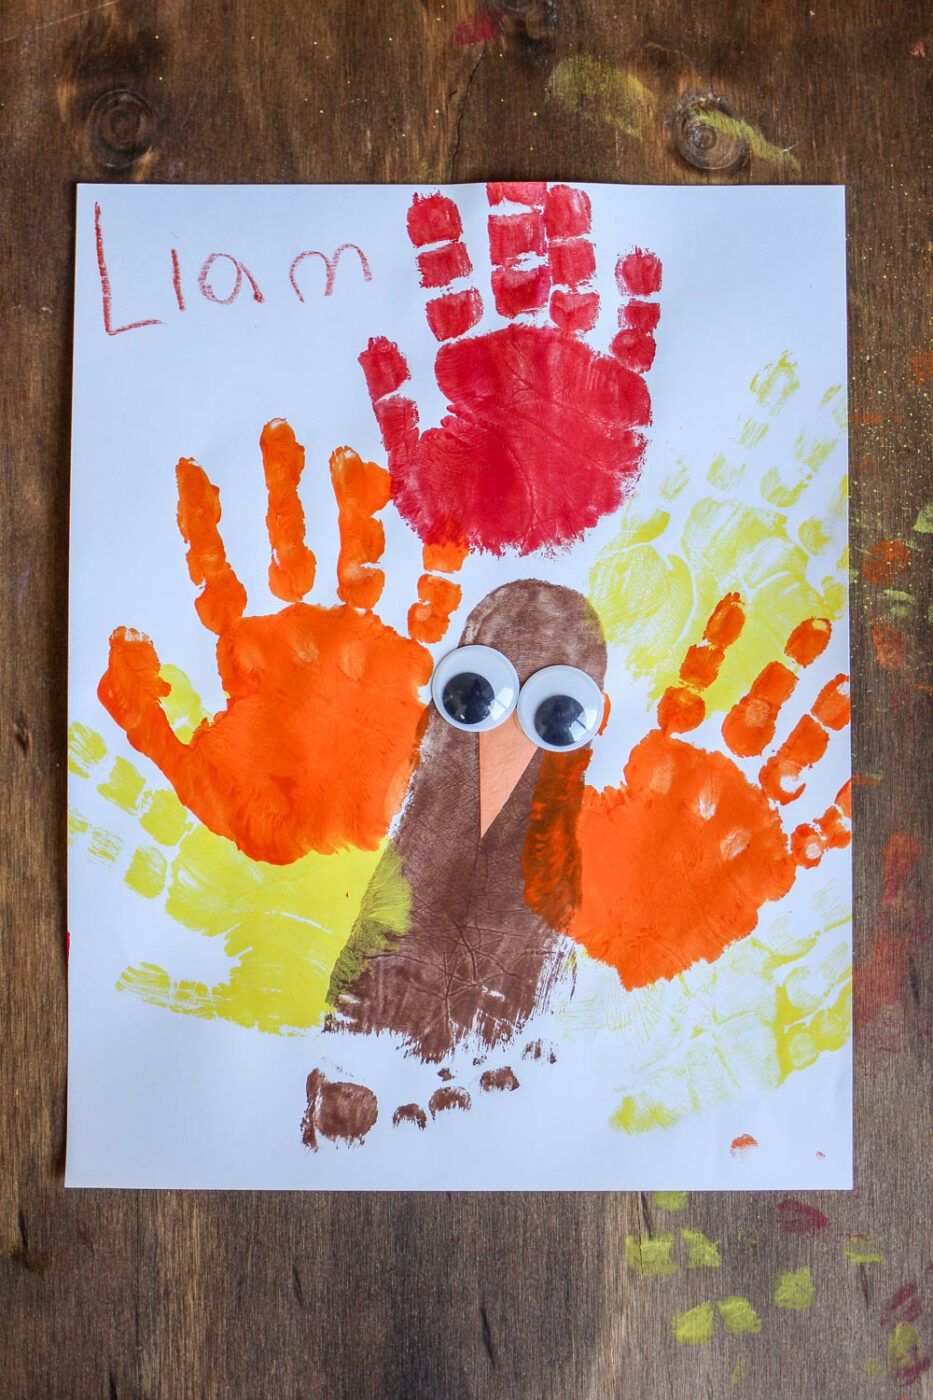
What do I love more than a quick craft? A craft that uses all the same supplies I already have. And these next two crafts use the same exact supplies, but we reimagined our process to create two beautiful works of art. First, the handprint turkey.
We have a lot of family, and this year, I am feeling more crafty. You get a handmade Halloween card, and you get a handmade autumn craft, and you get a handmade craft. With a long list of recipients, my kids get tired of making so many. The handprints for Halloween proved to be a huge success for 1. my kids having fun, and 2. everyone who received them loved them. So I decided to continue our crafting through the end of the year.
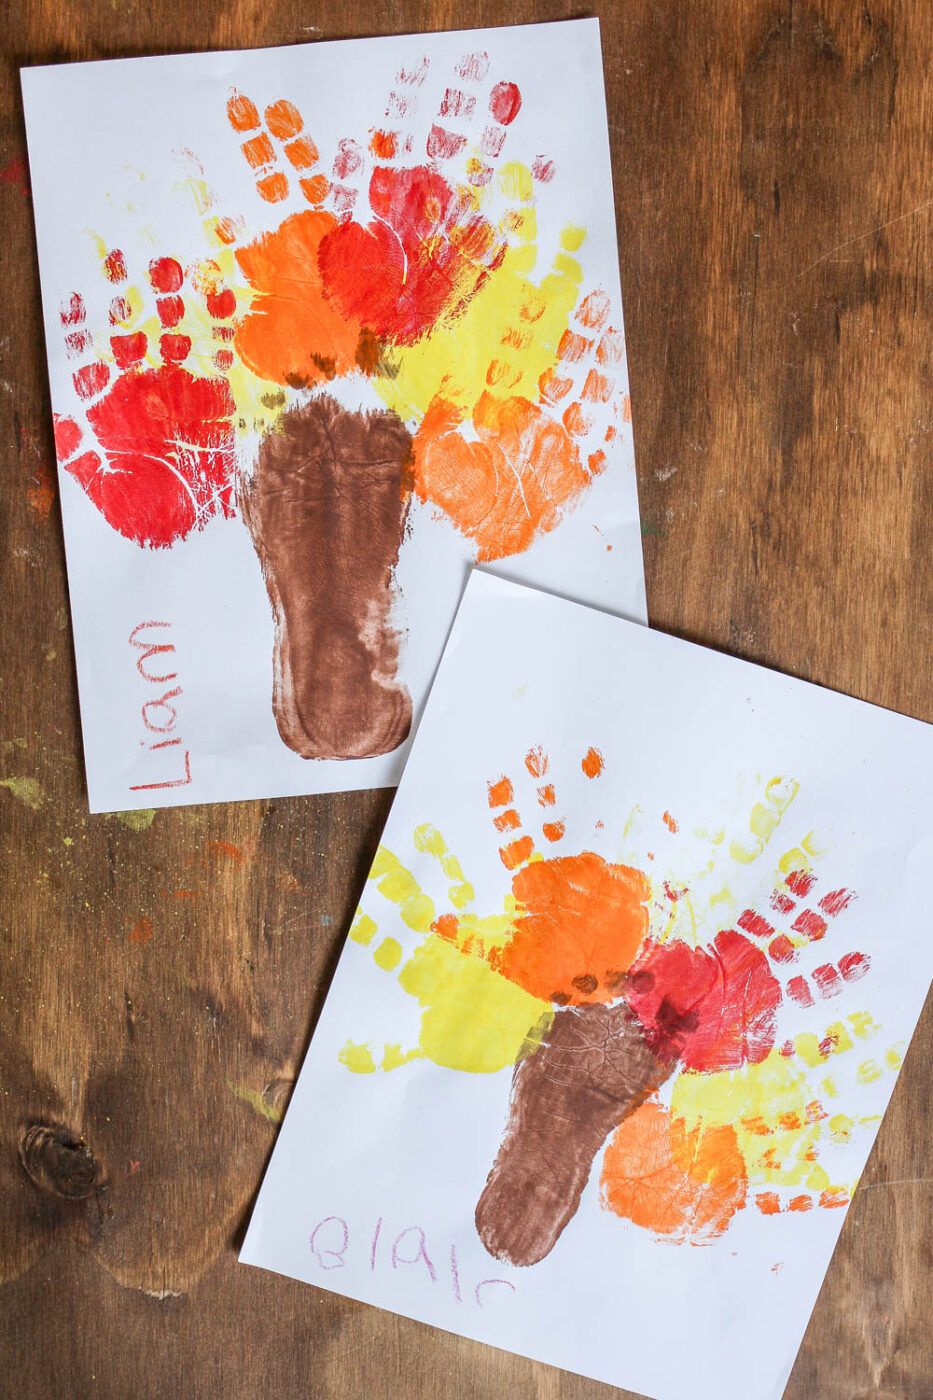
Handprint Turkeys and Autumn Trees
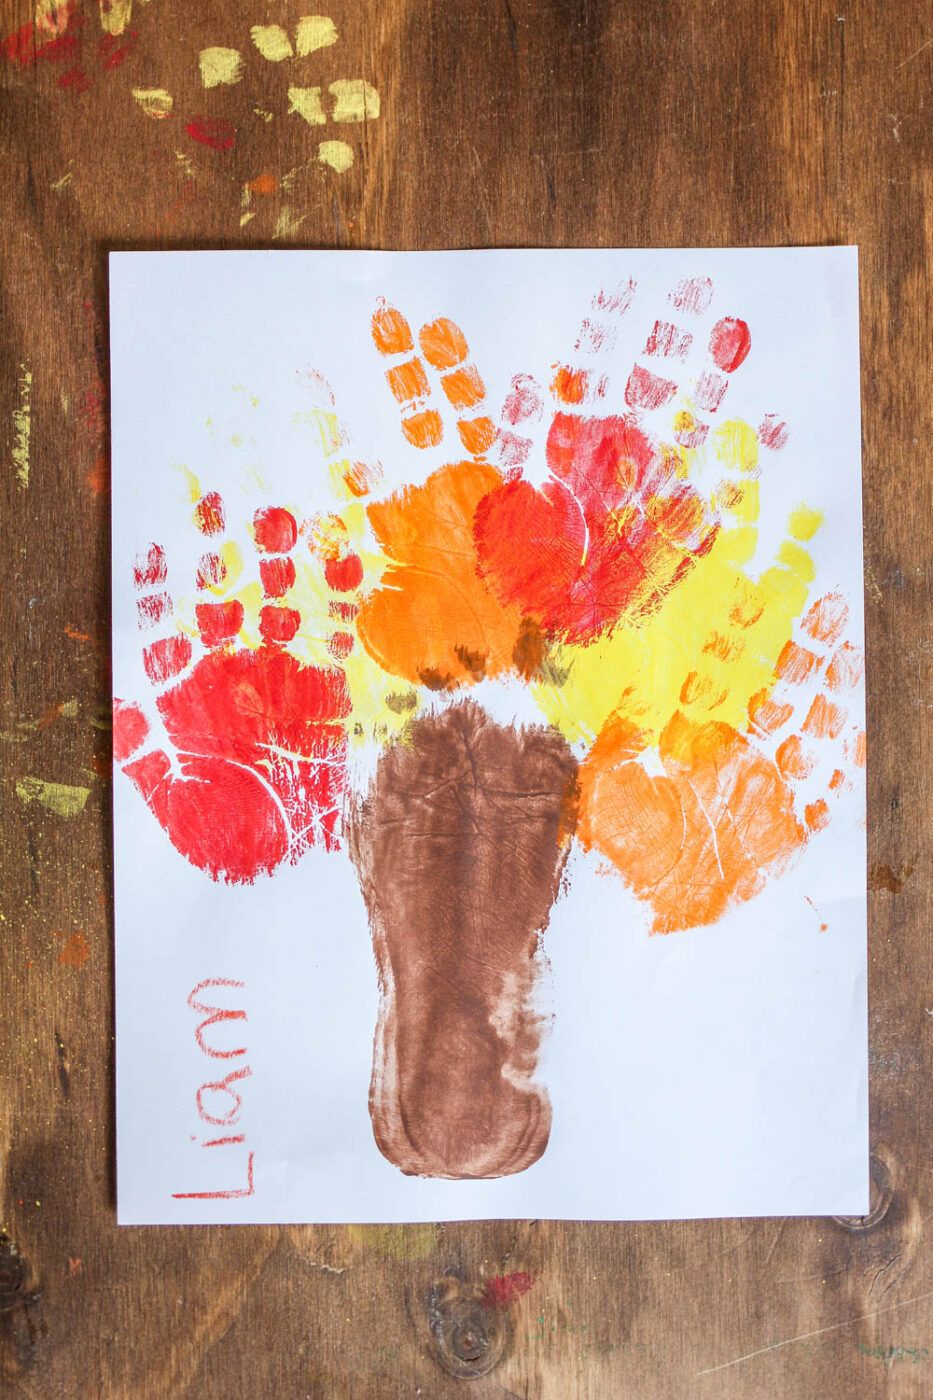
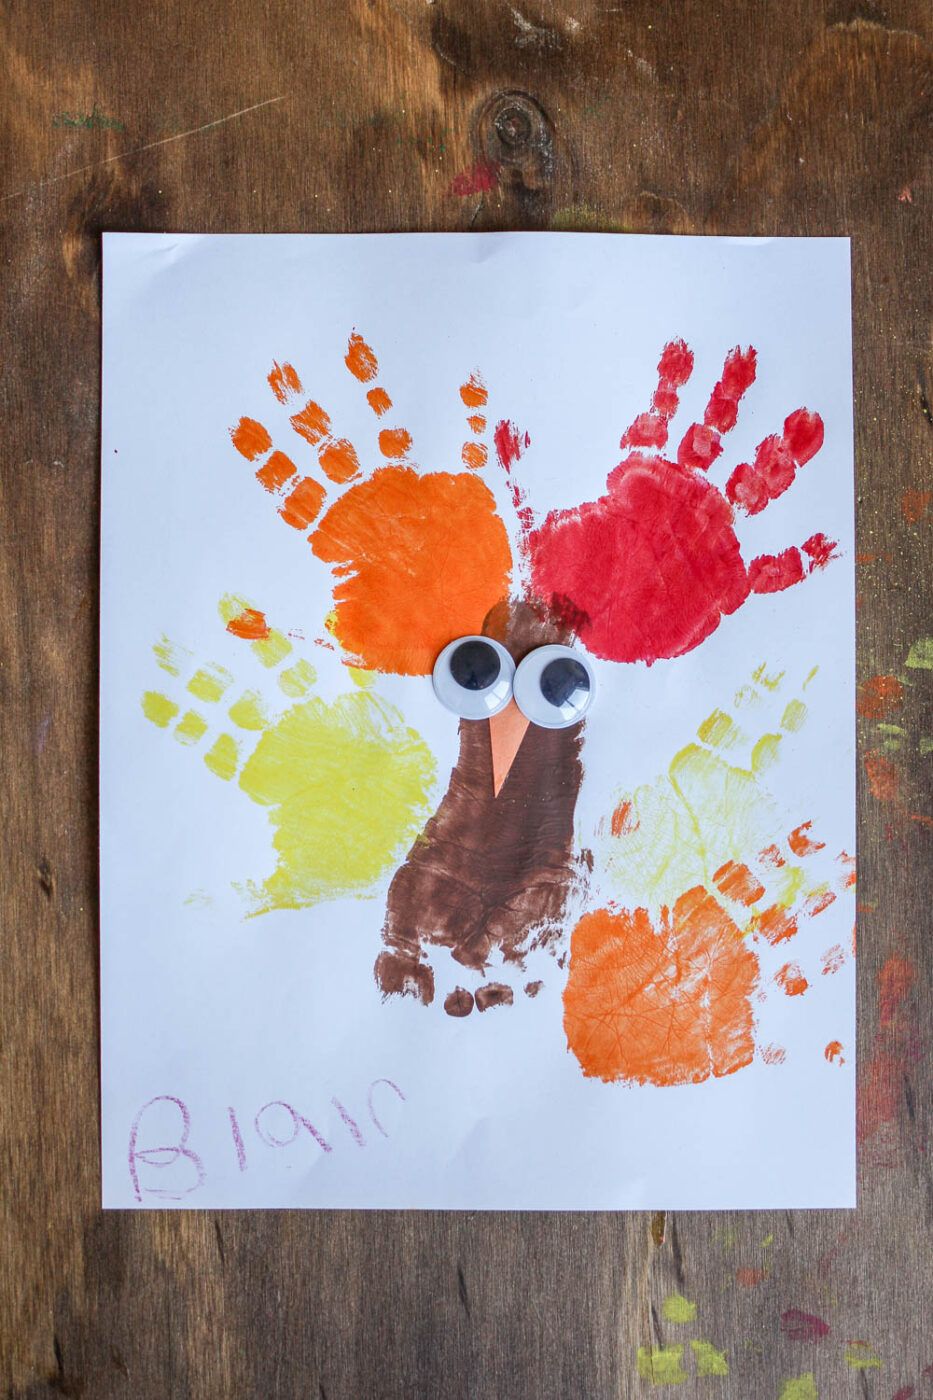
We started making handprint turkeys. We were able to get through quite a lot. My youngest could do footprint crafts all day. Then they started to get bored, with the turkeys and we switched over to…trees!
Supplies:
- Brown paint
- Orange paint
- Red paint
- Yellow paint
- White paper
- Googly eyes (for turkeys)
- Orange paper (for turkeys)
Turkey Directions
- Brush the bottom of your child’s foot with brown paint.
- The toes are the bottom of the turkey. Place the foot on the white paper so the toes are closer to an edge. Let dry.
- The handprints are pretty easy. I found that you should start with yellow paint, then orange, and then red. This way you don’t have to wash your hands between applications.
- Using yellow paint, place 1-3 handprints around your footprint. We’re going for a fanned feather look. Once you’re satisfied with the number of yellow handprints, apply 1-2 orange handprints. Then red. Since red is a such a bold color, we only applied 1 or 2. Let this completely dry.
- Cut an elongated isosceles triangle out of the orange paper. This is the turkey’s beak.
- Glue the beak to the heel area of the foot. The flat, unique side of the triangle should be facing the heel.
- Eyes! Glue a googly eye to one corner of the beak. Do the same with the second eye.
- Let dry and then frame!
Autumn Tree Directions
- Brush the bottom of your child’s foot with brown paint.
- The toes are the top branches of the tree. Place the foot on the white paper so the heel is closer to the bottom edge of the paper.
- The handprints are pretty easy. Like the turkeys, you should start with yellow paint, then orange, and then red. This way you don’t have to wash your hands between applications.
- Using yellow paint, place 1-3 handprints around the toes. We’re going for a festive leaves look. Once you’re satisfied with the number of yellow handprints, apply 1-2 orange handprints. Then red. Since red is a such a bold color, we only applied 1 or 2. Let this completely dry.
- That’s it!