Lilies and Loafers has affiliate relationships, so we may get a small share of revenue from your purchases. Items are sold by the retailer, not by Lilies and Loafers.
Pottery Barn loves a July newsletter alerting followers that their Halloween collection has dropped. When there’s something really great in their Halloween store, you need to purchase it right then and there. That’s how we picked up another terracotta pumpkin. In one of their emails, I was pushed a set of floating candles. I love a good Pottery Barn find, but I was not about to drop $150 on their candles. So I went to Amazon.
There are a lot of options to choose from, but this one has a wand for a remote and I wanted the full experience. I noticed they were on sale and I clicked on buy now.

DIY Floating Candles
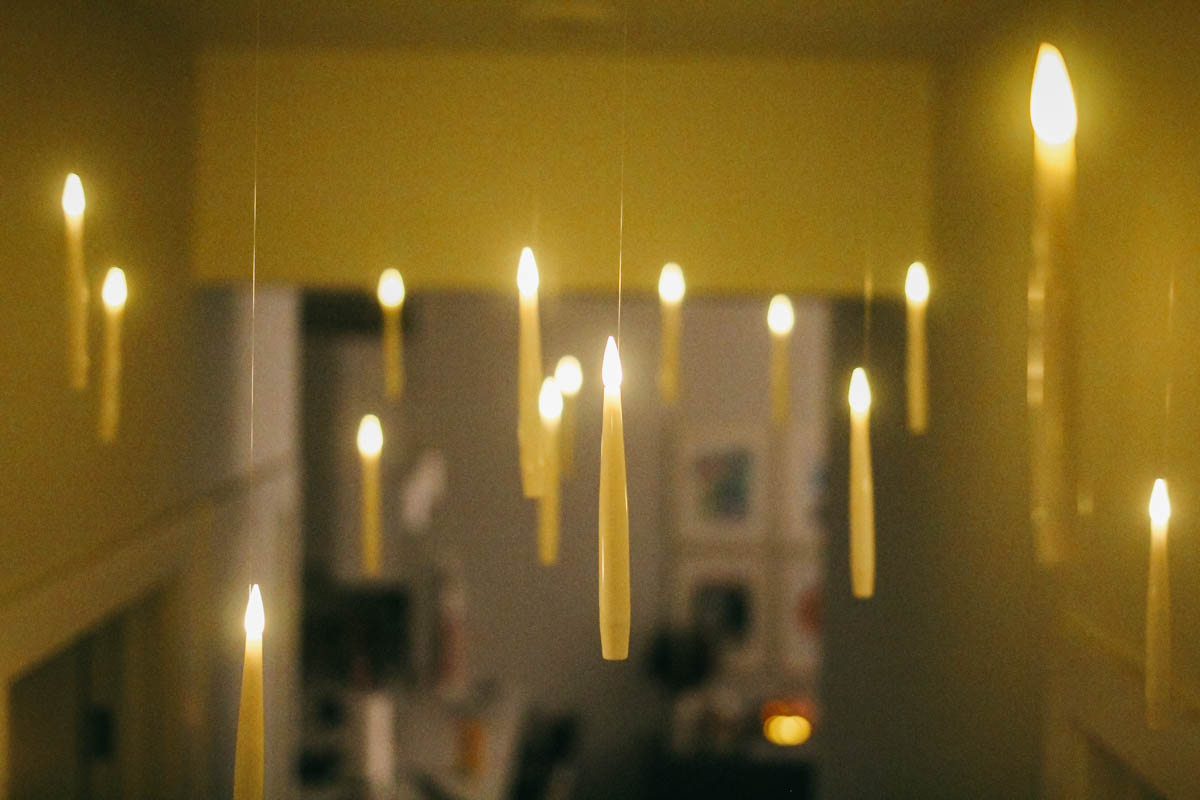
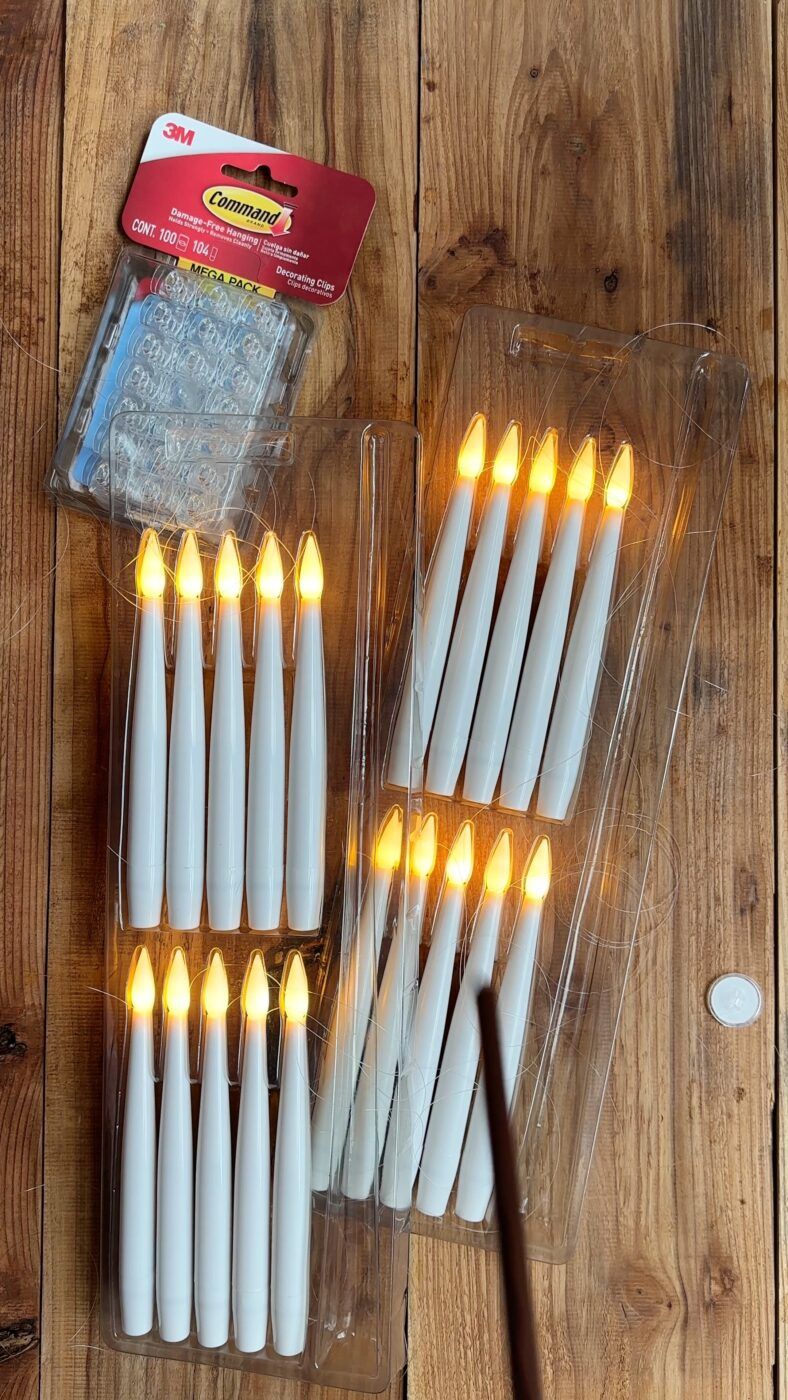
These candles were really easy to set up. You get 20 (!) of them, and they definitely add a little magic to your space. The wand is clutch.
Supplies:
- Floating candles
- Batteries – splurge for a quality brand if you can! I bought Duracell for these, but Energizer Max is a good choice, too!
- Command decorating clips

Directions:
- The first thing you’ll want to do is figure out your space. How long do you want the strings to hang? How many variations of lengths will you have? I mapped out the space in my hallways in a few ways: by string length and the space they’d take up. I decided I wanted three variations of lengths. A short, medium, and long. The long strong would allow the candle to hang no further than the beginning of molding around the doors. Then I mapped out the spacing of the candles through the hallway.
- Gather your supplies. This includes everything in the box and batteries!
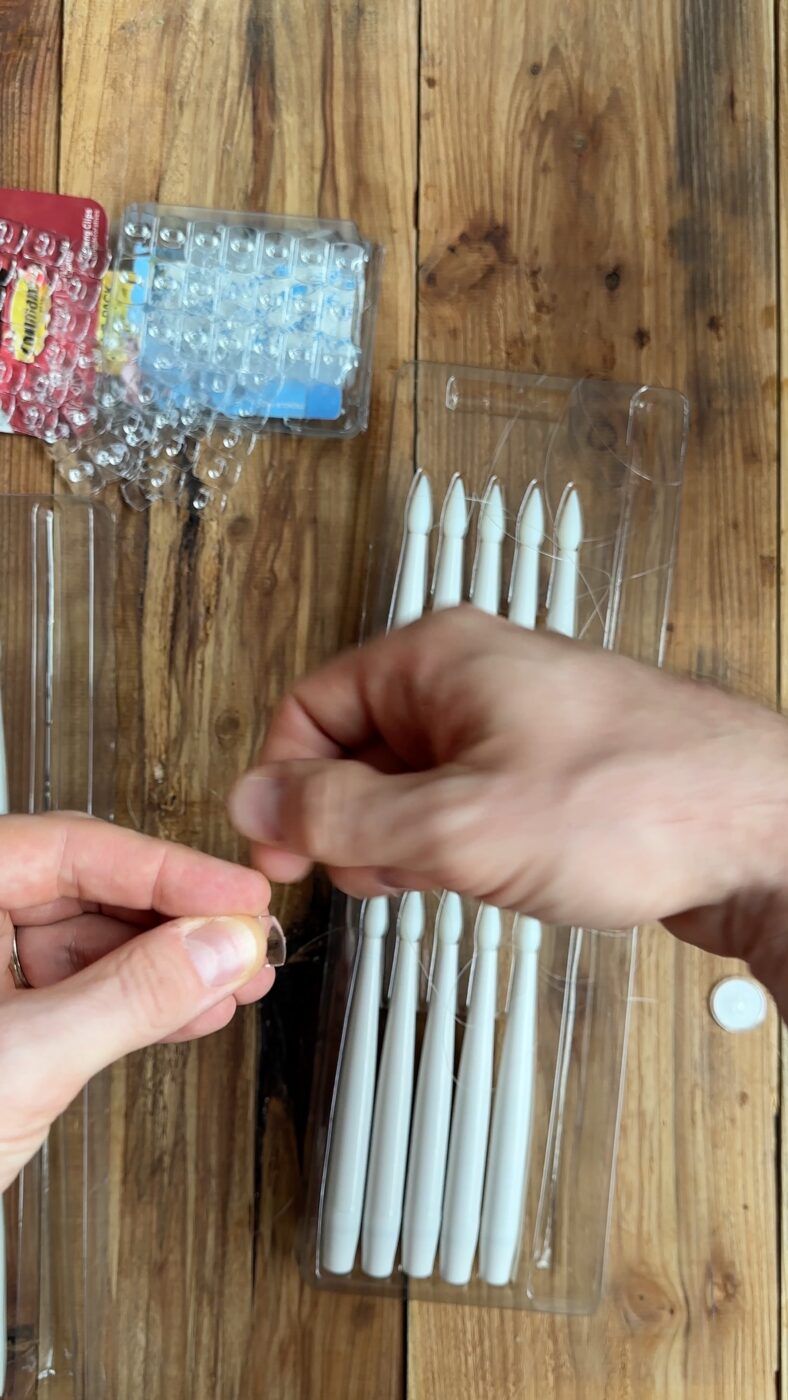
- Thread the candles with the string. At first, I gave all the candles the same long length. I know it’s a little wasteful since I’d be trimming them, but I was a machine and wanted to get them all threaded upfront.
- Don’t forget to pop in your batteries and screw on the bottom. the end of the fishing line should be in the cap, so when you’re screwing the bottom on, you’re doing so with the fishing line.
- Test your remote and all the batteries!
- Cut the fishing line to the lengths you want!
- Wrap fishing line on the command clips. Just wrap a little but of the end twice around the clip and apply the adhesive right over it.
- Follow your map and start sticking these directly to your ceiling!


These are so magical and the kids love to turn them on. I put these up in the first week of September and would turn them on every other night or so. In the last few weeks, they’ve been on more consistently for a few hours every day. So far, a candle has not fallen, nor battery gone out. I’ll keep you posted if that changes!

