Liam has collected his 8th badge. When he was thinking about his birthday party, there was exactly one theme on the table: Pokemon birthday. No negotiations. Unlike some of his past birthday themes, this one was an easy decision. So we went all out and pulled off a party that had every kid at the table losing their minds over a cake, all for under $100 in DIY decorations.
Here’s everything I made, how I made it, and what I learned along the way.
A Quick Note About My Pokemon Credentials
I grew up on Pokemon. I know every original 151, in fact, I am searching for my original handbook that may or may not be only up until 150. I’ve seen Pokemon: The Movie 2000 more times than I’ll admit publicly, and Entei in Pokemon 3 still hits. Full stop: if a Pokemon has a number above 300, I’ve never heard of them. There are apparently over 1,000 now. Lugia’s basically the last one I can confidently name.
This is all to say: you don’t need to be a superfan to pull off a great Pokemon party. You just need to know the classics, and the kids will do the rest. Thankfully, my kids’ favorite Pokemon are Squirtle and Pikachu, so I didn’t have to commit to research.
The Full DIY Decoration List
Lilies and Loafers has affiliate relationships, so we may get a small share of revenue from your purchases. Items are sold by the retailer, not by Lilies and Loafers.
Here’s what I made for Liam’s Pokemon birthday party:
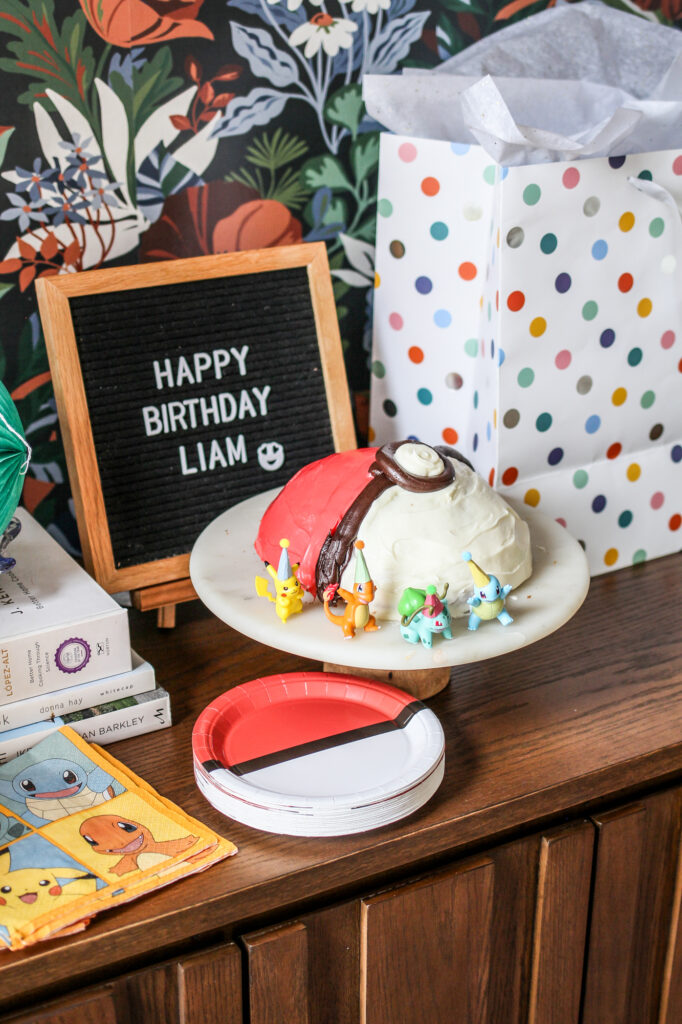
- Pokeball cake with DIY cake toppers (Pokemon characters wearing tiny party hats)
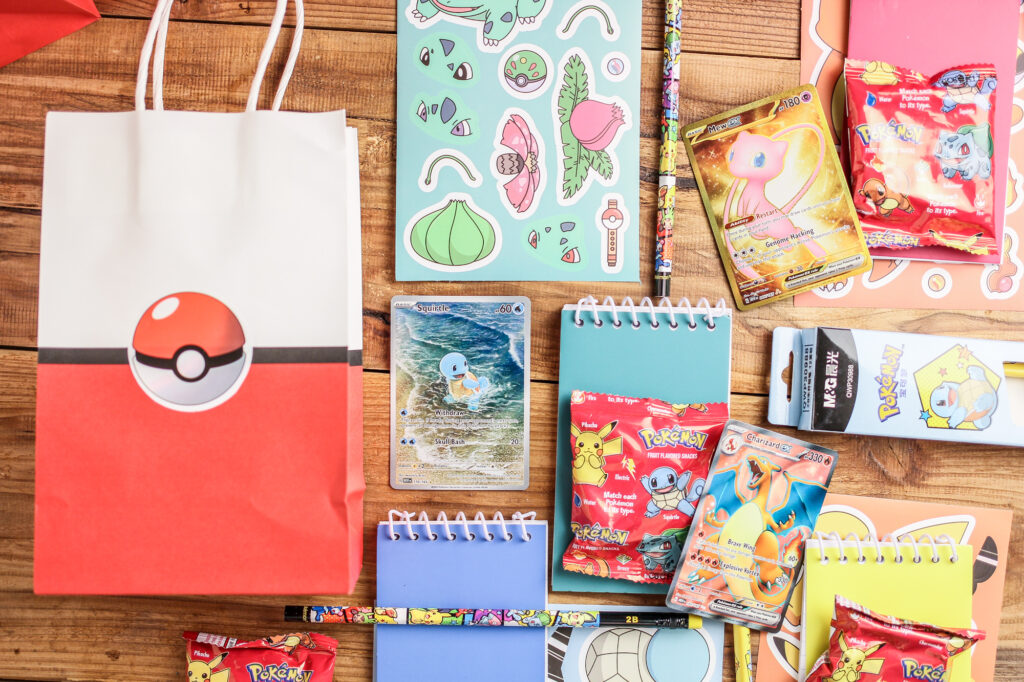
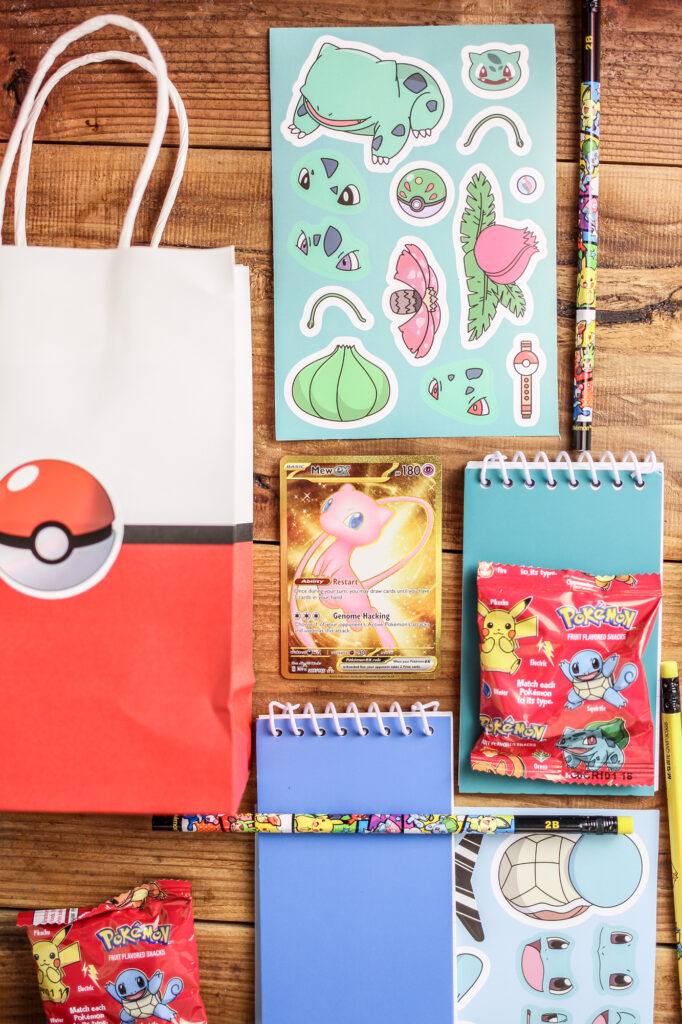
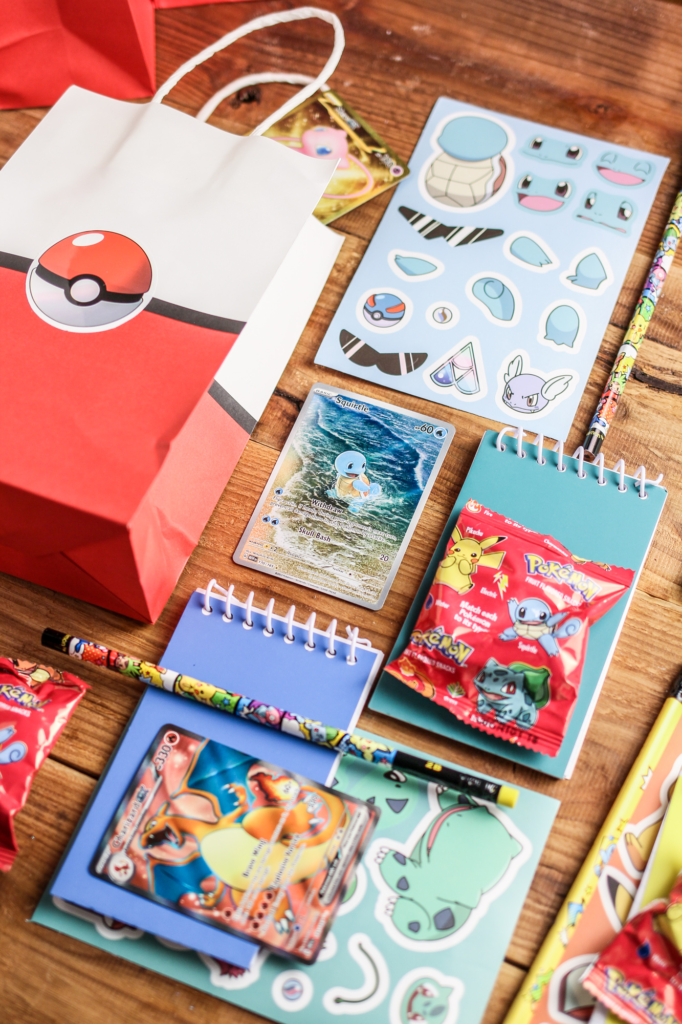
- DIY goody bags: red and white bags filled with Pokeball stickers, Pokemon sticker sheets, a Pokemon card, a notebook, a pencil, and Pokemon gummy snacks
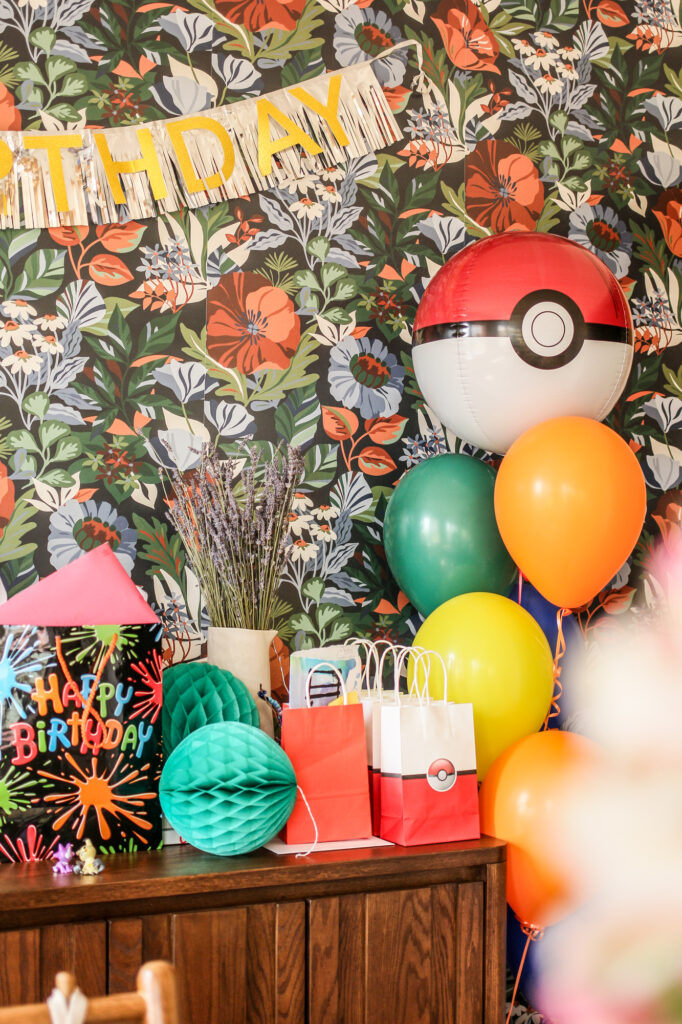
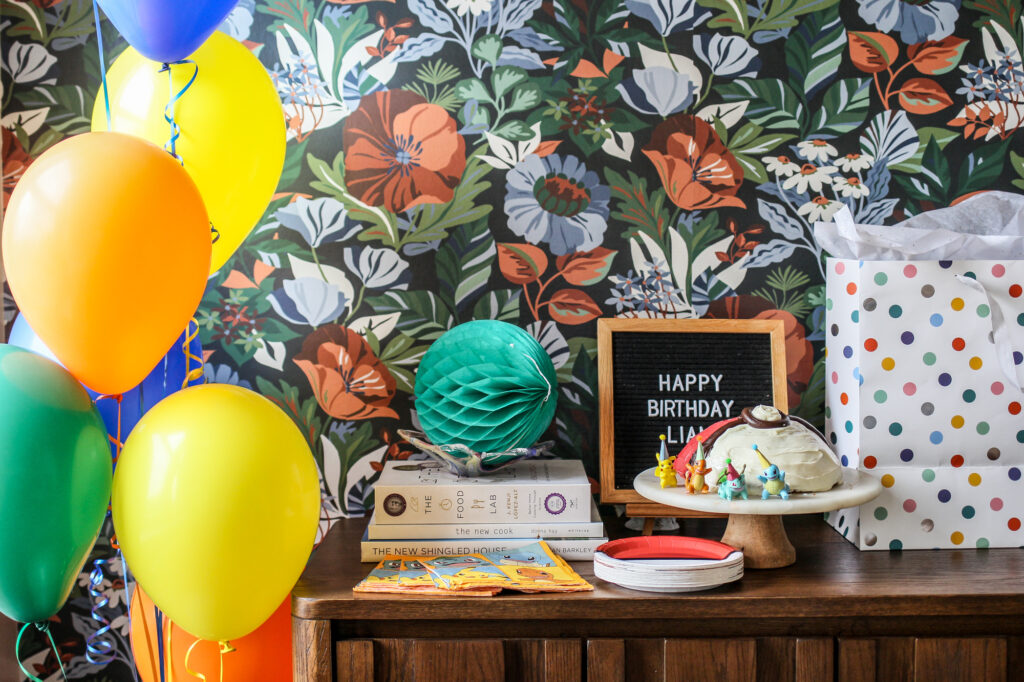
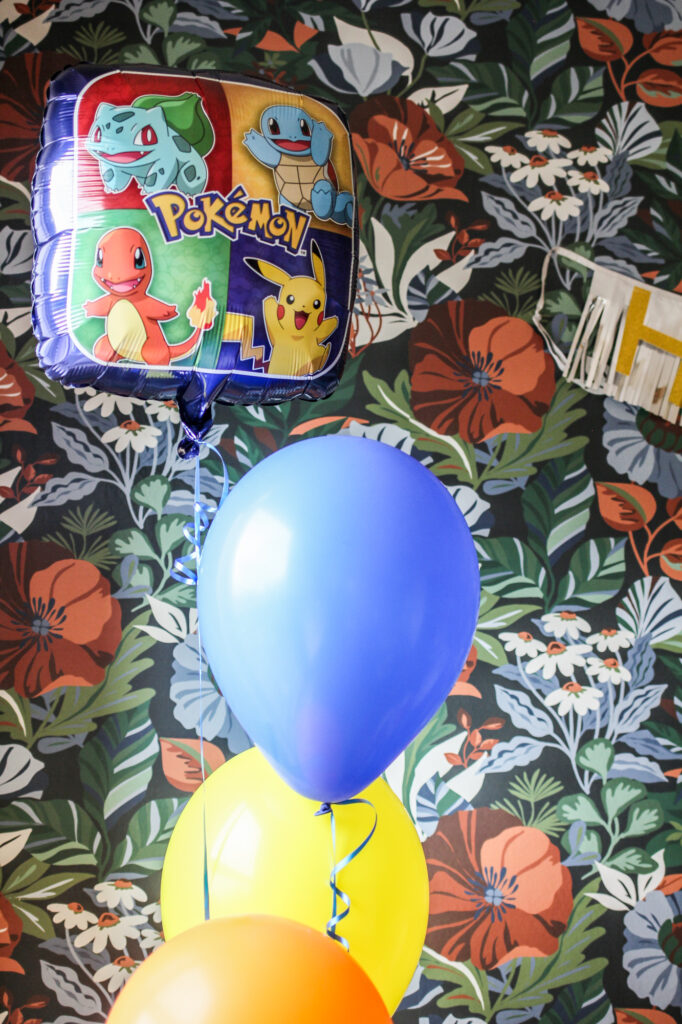
- Balloon setup: orange, green, blue, and yellow balloons (for Charmander, Bulbasaur, Squirtle, and Pikachu), plus a Pokeball foil balloon and a foil number 8 balloon
Total cost: about $100. Total prep time: a few hours the night before.

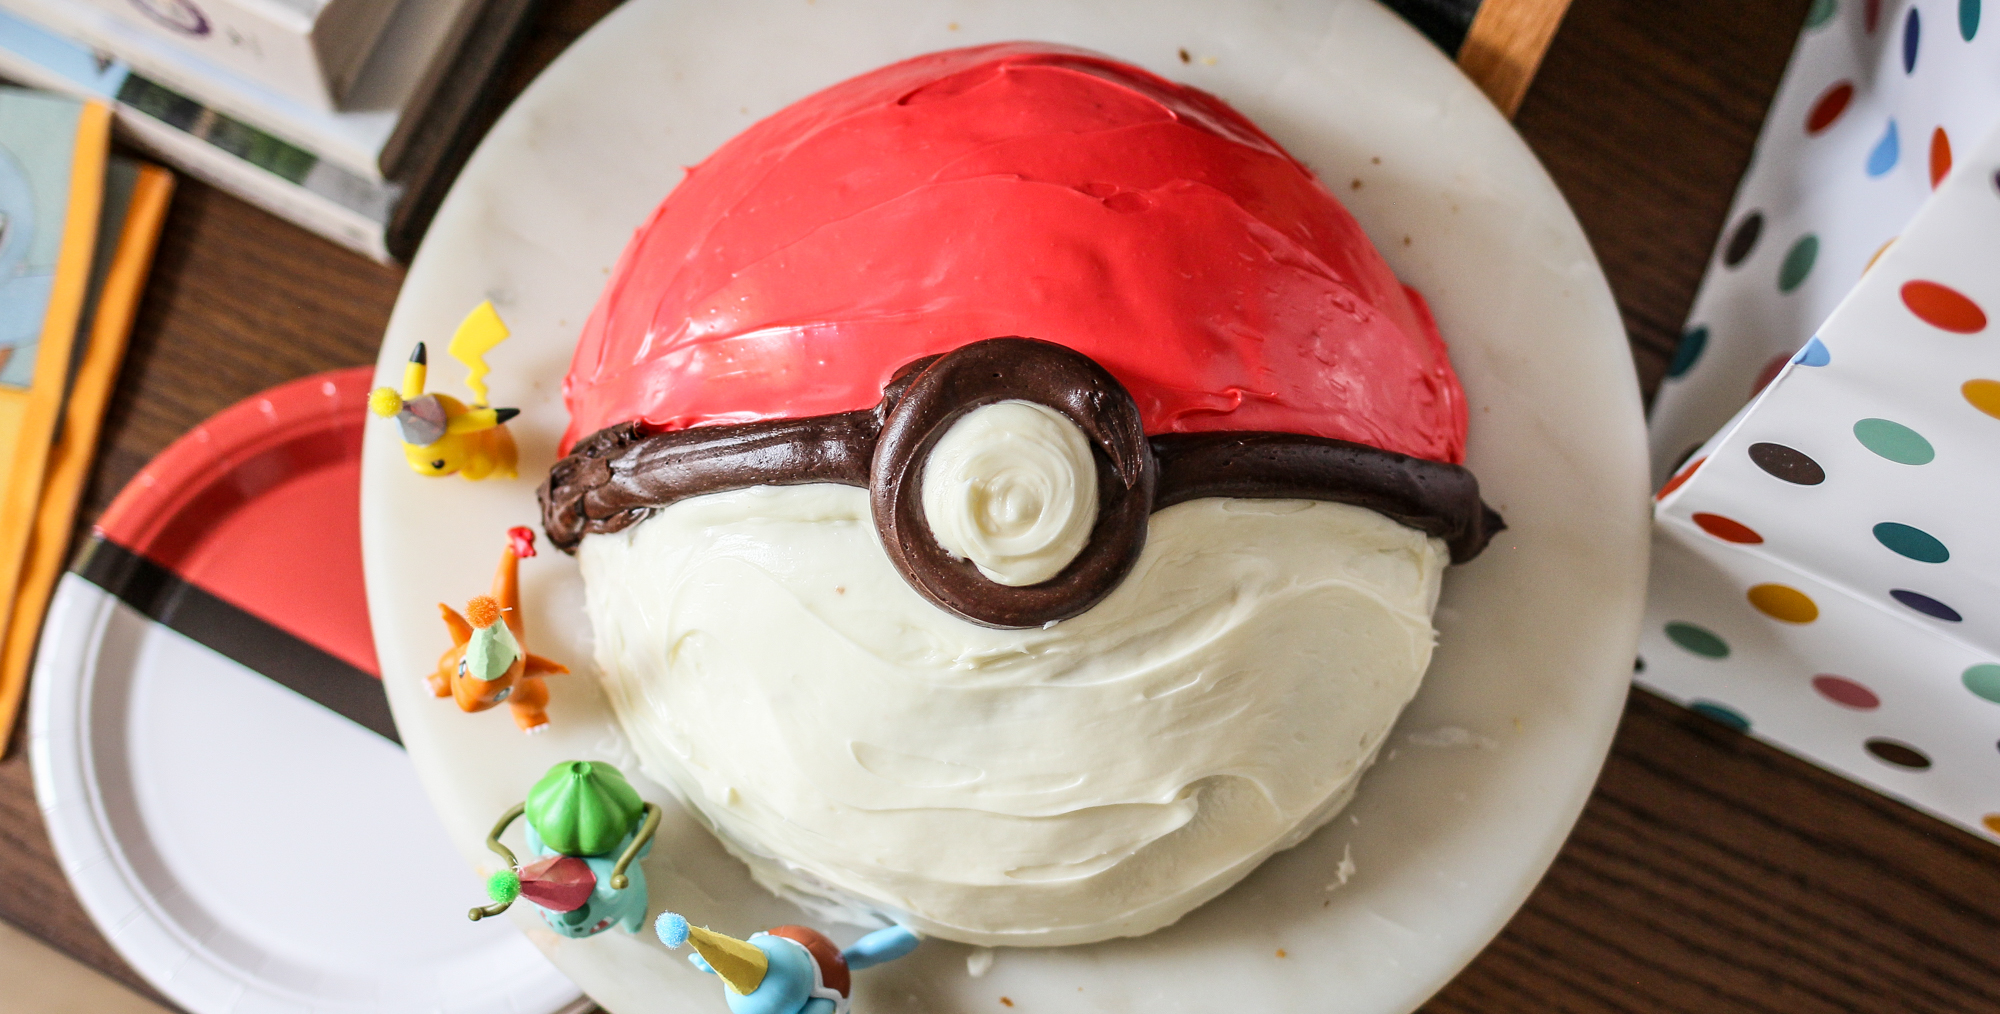
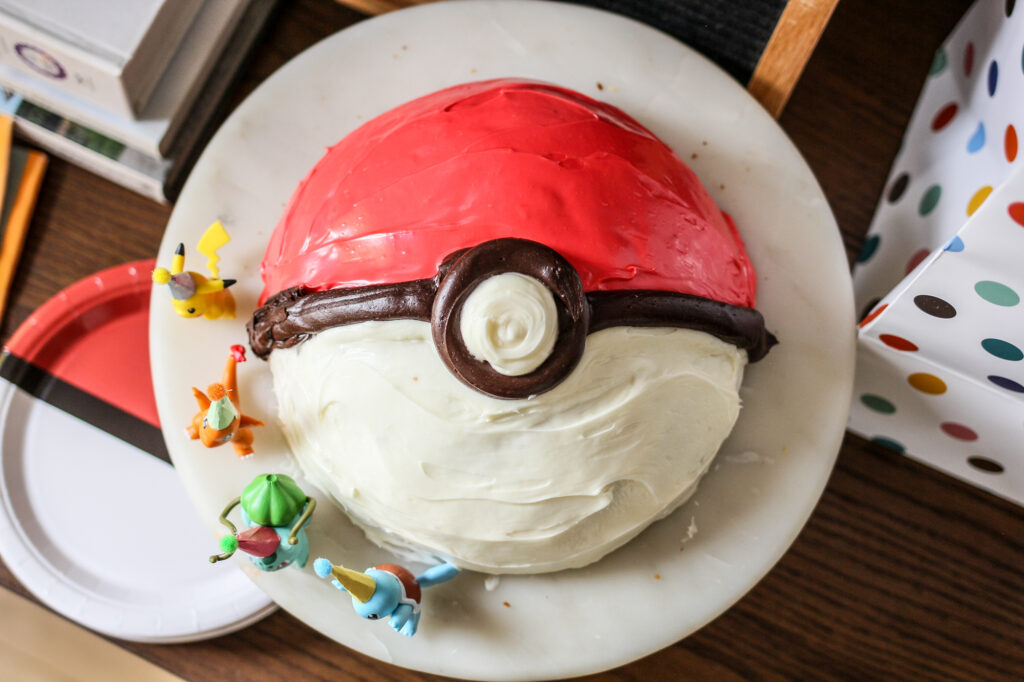
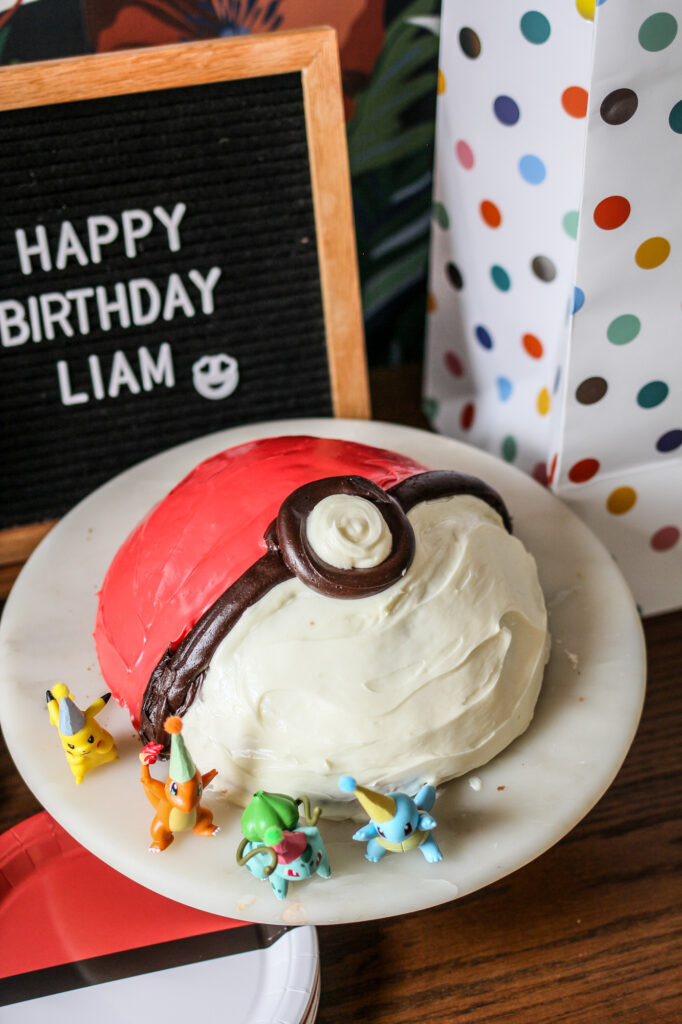
The Pokeball Cake: Looks Hard, But Isn’t
This was the undisputed star of the party. And here’s the secret: the sphere cake is actually one of the easiest cakes I’ve ever made. It just looks impressive.
Many moons ago, I made my one and only pregnancy cake. I haven’t used the cake pan since. Nearly a decade later and I got to break it back out and put it to use again.
What You Need
- A dome cake pan (I used a dome pan)
- Boxed cake mix and the ingredients
- Red food gel for vanilla frosting
- White vanilla frosting
- Dark chocolate frosting (for the Pokeball lines)
- DIY cake toppers (more here)
- Pokemon themed plates and napkins
How to Make It
Step 1: Bake the dome. Use your sphere or dome pan to bake a cake according to the box directions. Let it cool completely before you do anything else.
Step 2: Frost the bottom half white, top half red. This is where people think it gets complicated. It doesn’t. Frost the bottom half in white frosting, the top half in red frosting. Use a spatula to get the edges roughly even.
Step 3: Add the chocolate lines. Pipe a dark chocolate frosting line along the equator (where the red meets the white) and a small circle outline in the center for the Pokeball button. Fill the button with white vanilla frosting. Here’s the best tip I can give you: if the red and white blend a little at the border, don’t panic. The chocolate line covers it completely. This is a very forgiving cake.
Step 4: Add your cake toppers. Fan-favorite Pokemon with tiny party hats: Pikachu, Charizard, whatever characters your kid loves. (I’ve linked my full tutorial for making these toppers here and if you’re curious about Paw Patrol).
The cake was genuinely the least stressful part of the whole prep. The dome shape does most of the work for you.
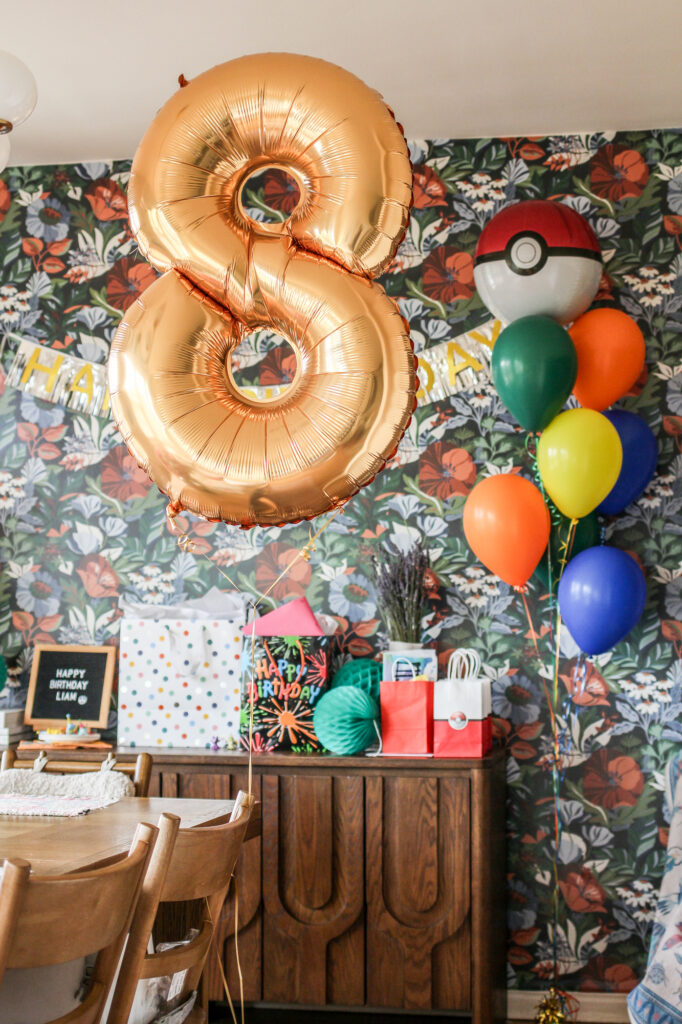
The Balloon Setup: Color-Coded Pokemon
This is such a simple idea but it lands so well with Pokemon fans, young and old. We opted in for helium-filled balloons from our local balloon shop, but you can also use balloons you fill up yourself!
Instead of just buying random colored balloons, I tied each color to a starter Pokemon:
| Balloon Color | Pokemon |
|---|---|
| Orange | Charmander |
| Green | Bulbasaur |
| Blue | Squirtle |
| Yellow | Pikachu |
Add a Pokeball foil balloon as the centerpiece and a foil number balloon for the birthday kid’s age, and suddenly a $10 balloon run from Amazon becomes a themed installation.
No DIY skill required. Just intentional color selection.
The Goody Bags: Great Idea, More Work Than I Expected
Let me be straight with you: the goody bags took longer than I planned. Specifically, when the red-and-white bags I ordered arrived, the colors were reversed: red on the bottom, white on top. Not how a Pokeball is supposed to look. While these eight year olds might not notice nor care, I know what’s wrong.
My fix: I stuck Pokeball stickers right across the middle of each bag where the two colors met. It broke up the “wrong” color order and honestly looked intentional. The bags turned out great. But the lesson is to double-check your bag orientation before you order or just buy plain white bags and go heavier on the stickers.
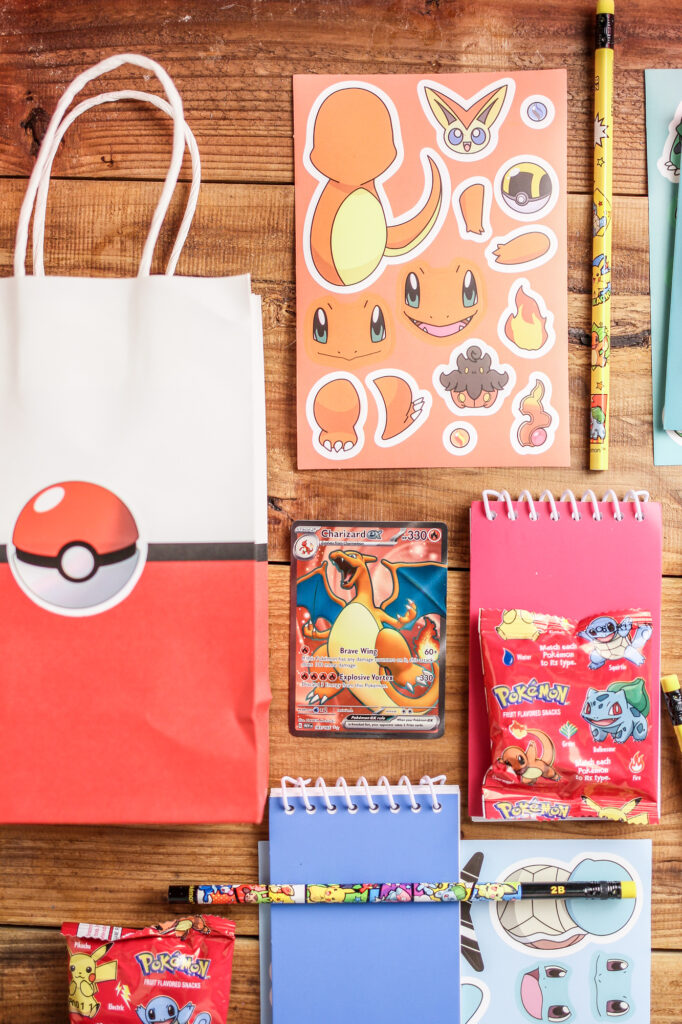
What I Put In Each Bag (Cost: ~$3.50/bag)
- Pokeball stickers
- Pokemon sticker sheet
- One Pokemon card
- Small notebook
- Pencil
- Pokemon gummy snacks
- Goody bags
I didn’t want these bags to be throw-aways. I can’t tell you how many of these birthday bags come home and they’re just filled with waste and end up in the garbage. Because of the character licensing, some of the Pokemon goodies were expensive, so I just paired colorful notebooks in the theme.
What Would I Do Differently For This Pokemon Birthday Theme?
On the cake: Nothing. I’d make it exactly the same. The dome pan is worth buying if you don’t own one: it’s inexpensive and you’ll use it again. The chocolate border is your best friend for hiding imperfections (and reduces the need to use another gel color).
On the goody bags: Check the bag color orientation in product photos before ordering. Or save yourself the stress entirely and use solid white bags with a full Pokeball sticker on the front. Cleaner look, less chance of a last-minute scramble.
On timing: The cake toppers and bag assembly can all be done the night before. The cake itself should be frosted the day-of if possible, but the dome can bake the day before and cool overnight. You don’t need a full weekend for this, just a solid few hours the day before the party is enough.
Final Thoughts
Liam is 8 and has already informed me that next year he “might want a different theme.” So I’m enjoying this one while it lasts. But if your kid is in a Pokemon phase right now, like mine, this party setup hits every note. It’s recognizable, nostalgic for the adults in the room, and genuinely exciting for the kids, without requiring a huge budget or a full week of prep.
And if a Pokemon has a number over 300, you can absolutely pretend you know what it is. The kids won’t know the difference. Probably.