A previous version of this post for Paper Bats: DIY Halloween was published in October 2013. We took new photos and updated some of the written content.
Bats are everywhere! Need a quick idea to set up your Halloween entertainment space? Make some paper bats to adorn your walls and ceilings. I can’t take the credit on this one. Our friend, and Lilies and Loafers blogger, Ashley, did this last year in her apartment:
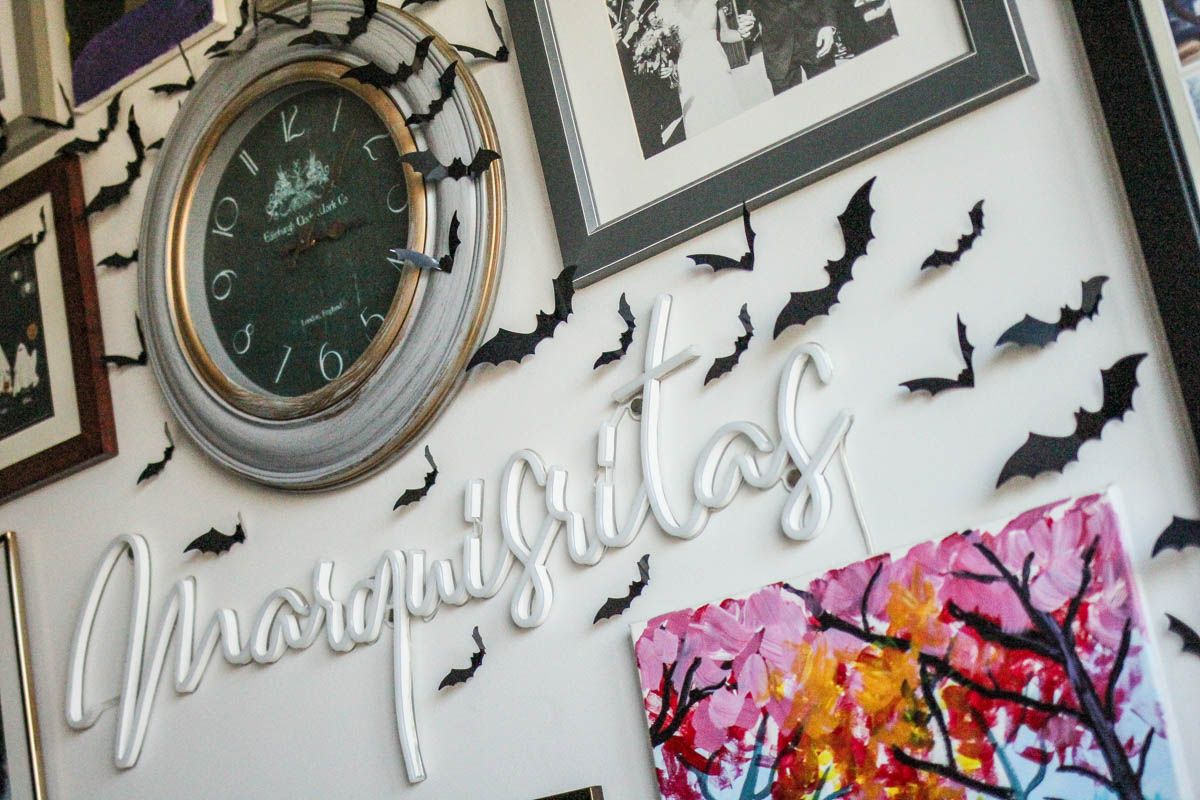
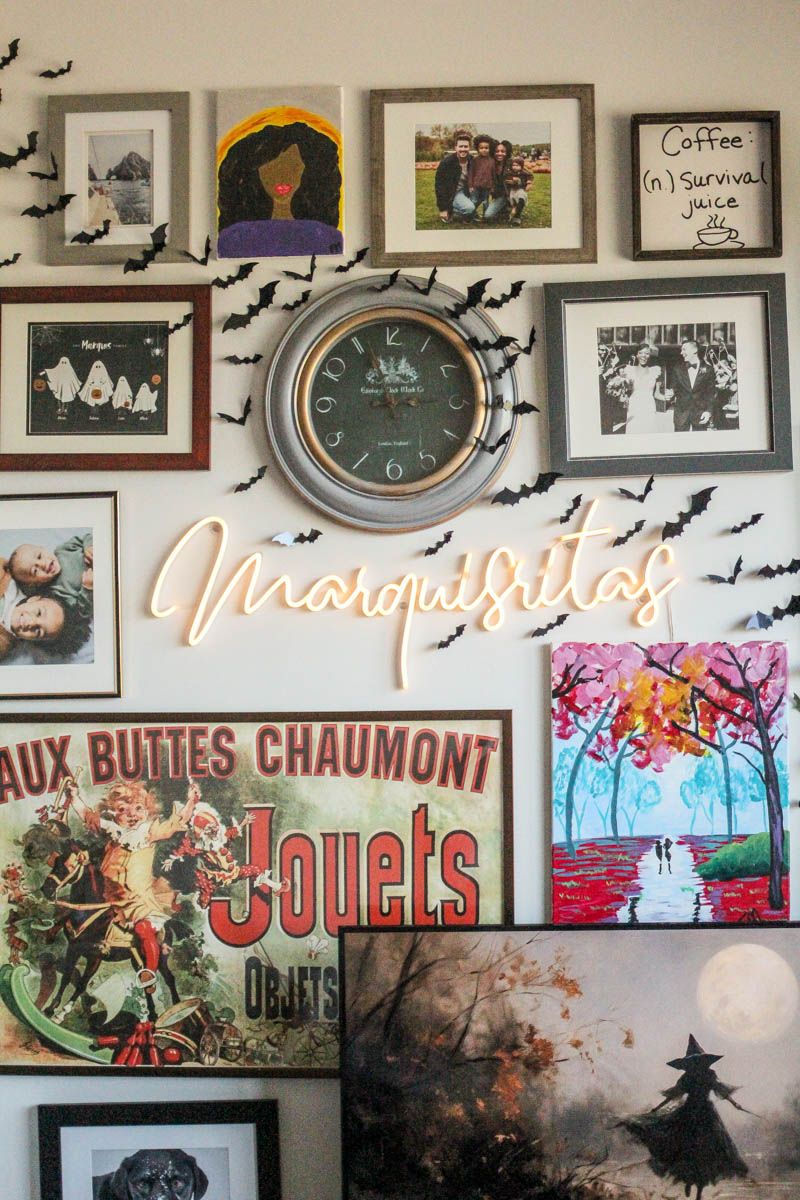
They looked so cool! So, I made them for our apartment this year:
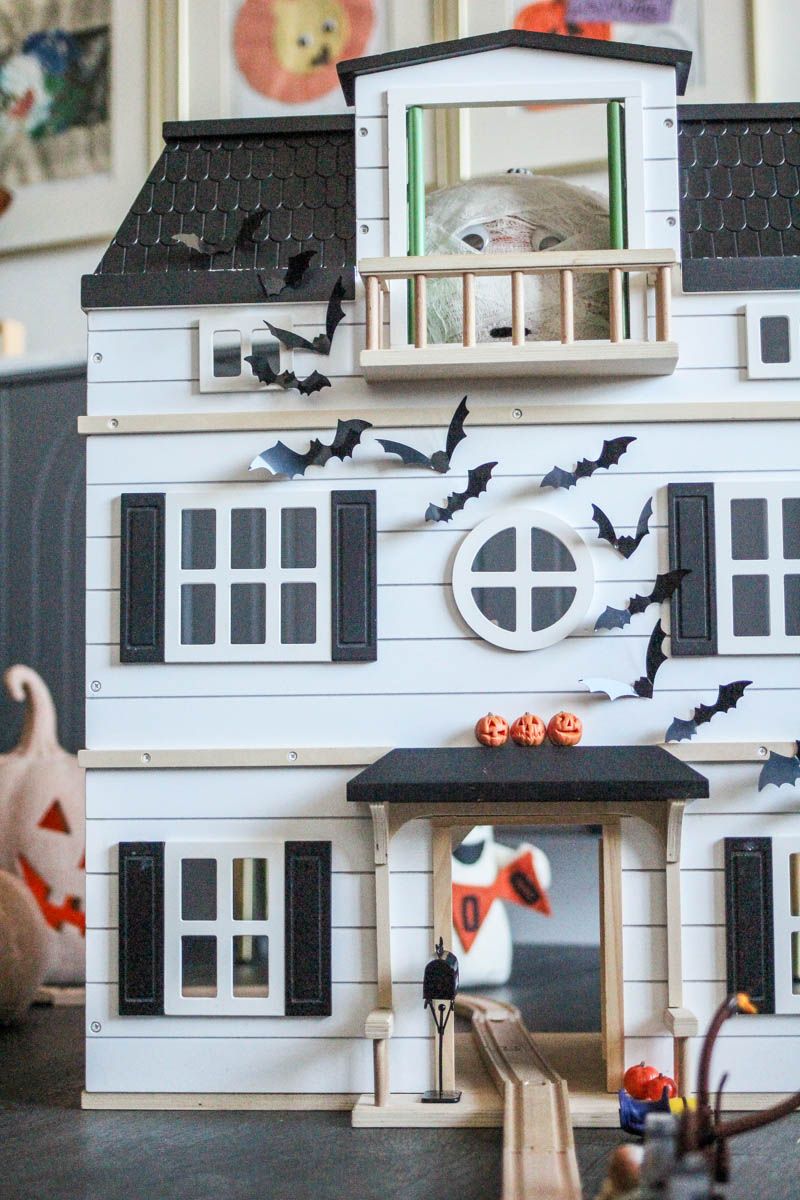
And put them on our sons’ playhouse for more spooky fun.
Lilies and Loafers has affiliate relationships, so we may get a small share of revenue from your purchases. Items are sold by the retailer, not by Lilies and Loafers.
You can do one of two things. 1. Make bats from paper or 2. buy them!
Making Paper Bats
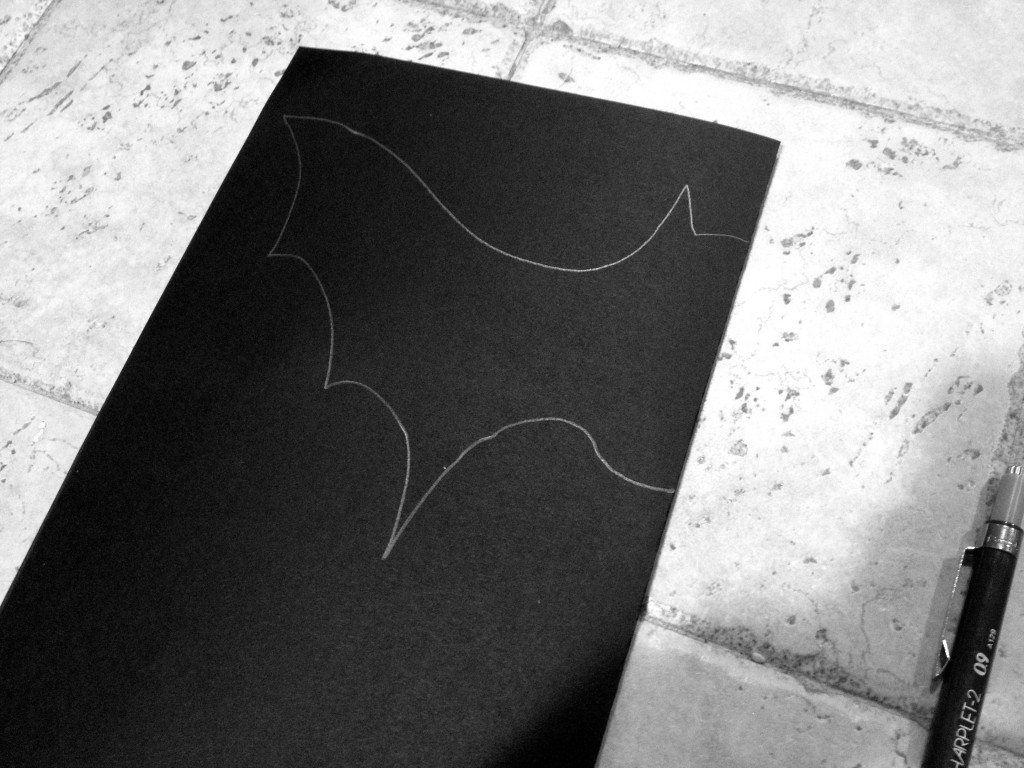
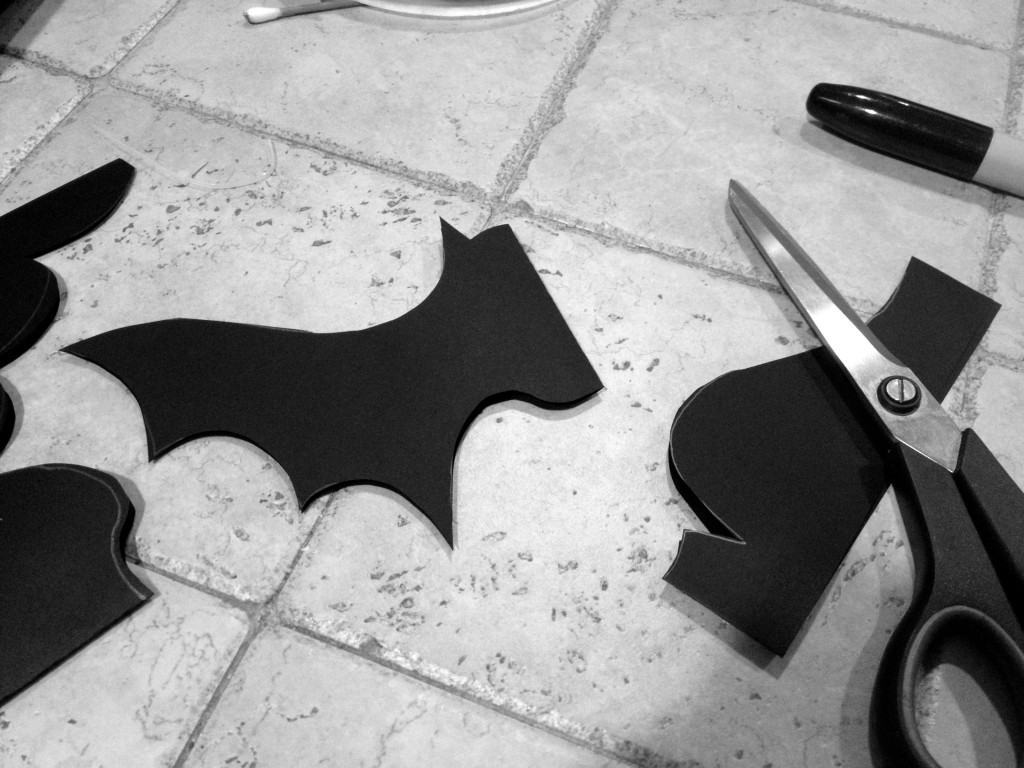
If you’re going to make them, these paper bats are really easy to make. First, you’ll want to fold a piece of black construction paper in half. Then draw an outline of a bat – a half a bat – from the crease of the paper. This way, when you cut the bat out, you’ll have a full bat – make sense? I doubled up the sheets so I could make quadruple the number of bats in one sitting. I was able to fit 2 bats on each sheet of paper. I made 60 bats for the apartment and it took about 30-45 minutes to draw and cut out.
Buying Paper Bats
I purchased these bats on Amazon. But you can find them at other major retailers, like Target. These are plastic and reusable. They come with little sticky squares to help you adhere them to your walls, windows, and wherever you want to place them.
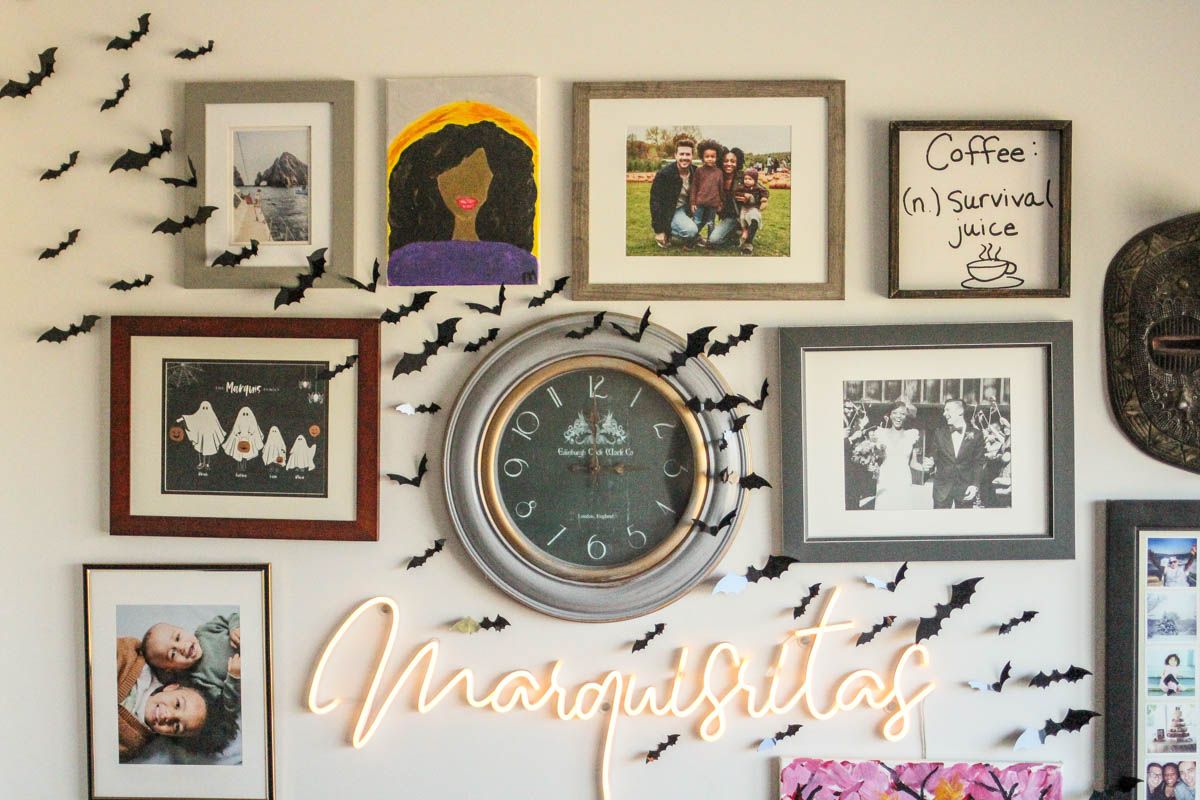
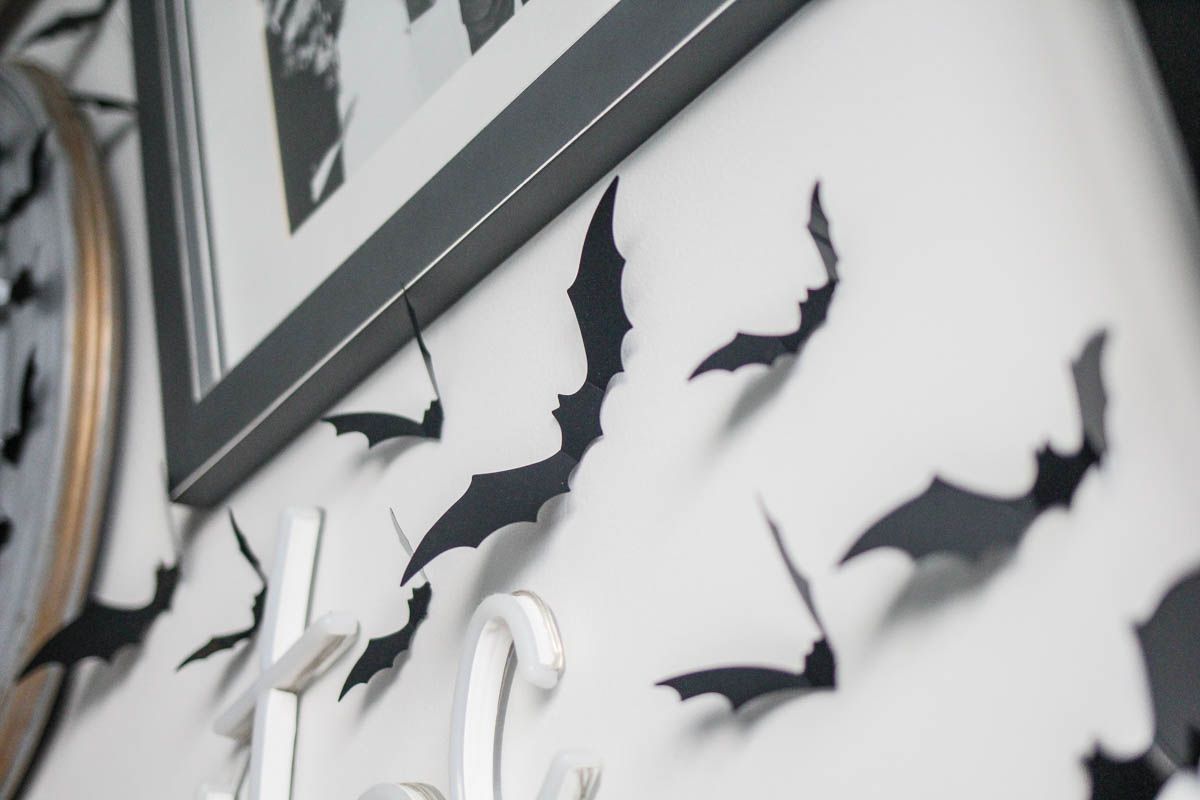
These plastic bats came in a few different sizes and variations. I first anchored the line of bats with the largest of the sizes. From all the way at one corner to the other. I didn’t want to use too many large bats, so I started with just a few. Then, I filled in the rest with the different sizes and variations. I tried to stick to a pattern, but then it looked like a pattern, and I did not like that. I started one on our lamp to add a fun 3D effect!
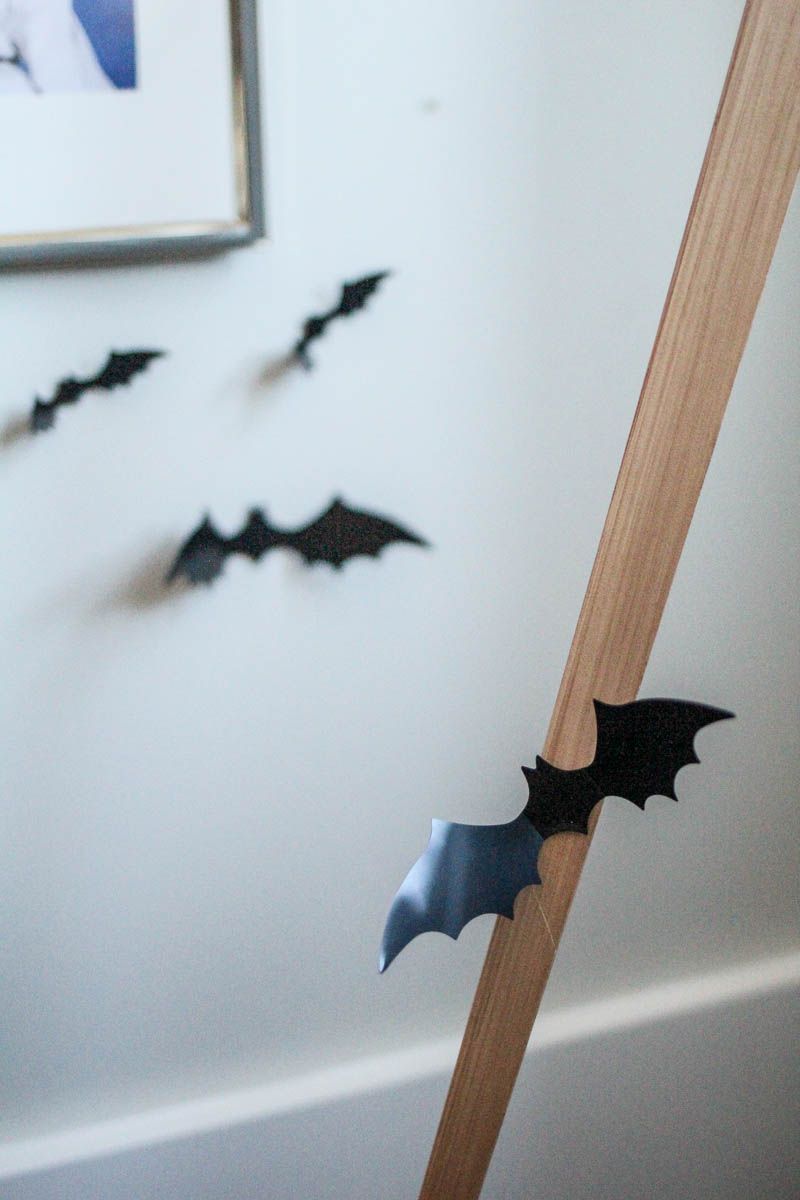
Once I had most of them in a line, I stepped back and realized they looked too close together. So I started to space some out a little outside of the pack to add some randomness and fullness to the line.
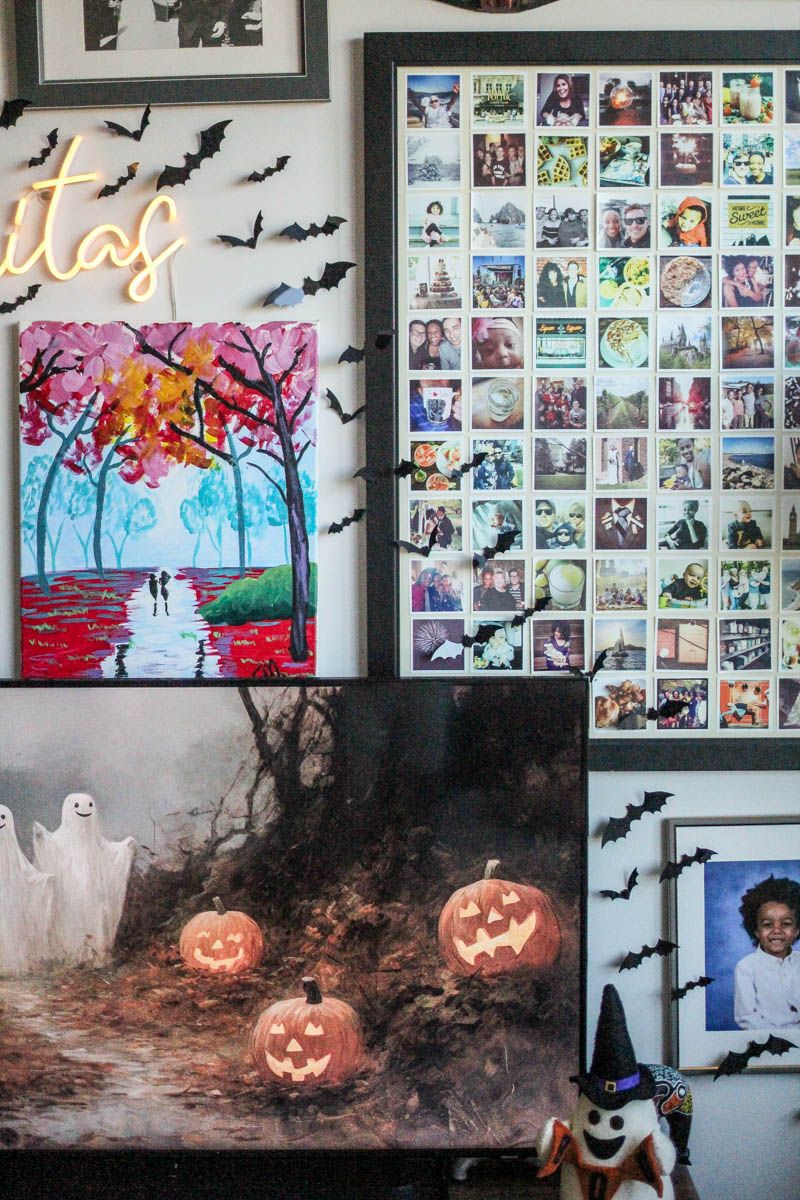
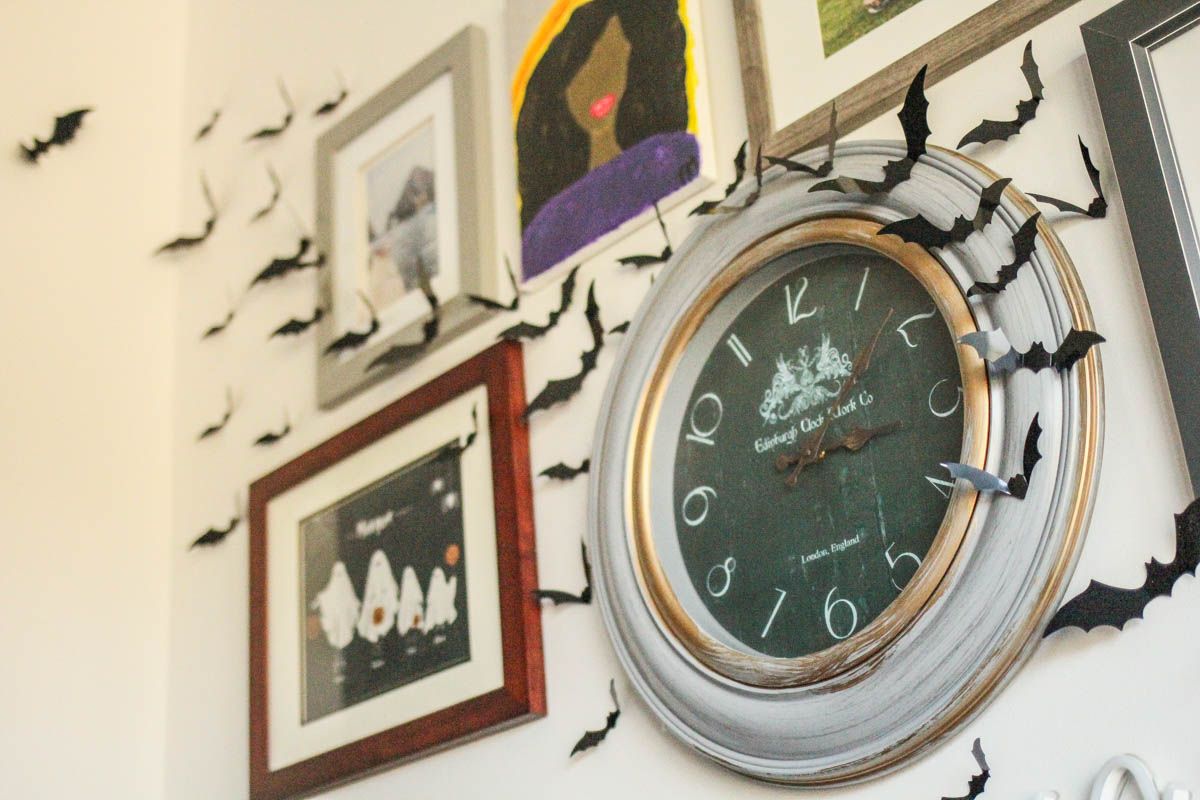
I utilized our artwork and frames to guide the line of bats, add movement, and a 3D effect. These were so much easier than making them yourself. Just peel, stick, and place. I love that I can reuse them, too. Our paper bats from 2013 Halloween were used once, then again at our Halloween party, and never survived the clean up. These are much more durable and I look forward to using them in different ways each year! However, I’m a little nervous about the clean-up. I’ll let you know how that goes in about 31 days…



1 Comment