

This weekend I channeled my inner Martha Stewart and crafted a fun DIY decoration for Halloween – a Mummy Pumpkin. I first saw this floating around Pinterest, and as a lover of Halloween and anything involving pumpkin, I knew I had to make it! It’s a bit of a time hog, but not too hard to craft – a moderate DIY project. All you’ll need is some patience and…


DIY Supplies:
- Cheesecloth (found mine at Joann Fabrics)
- Fabric Stiffener
- Scissors
- Artificial Pumpkin
- Hot glue, cement glue, or other type of strong glue
- 1 inch googly eyes
- Crafting knife
- Paint Brush
- Glow in the dark paint (optional)
- Wax paper

DIY Directions:
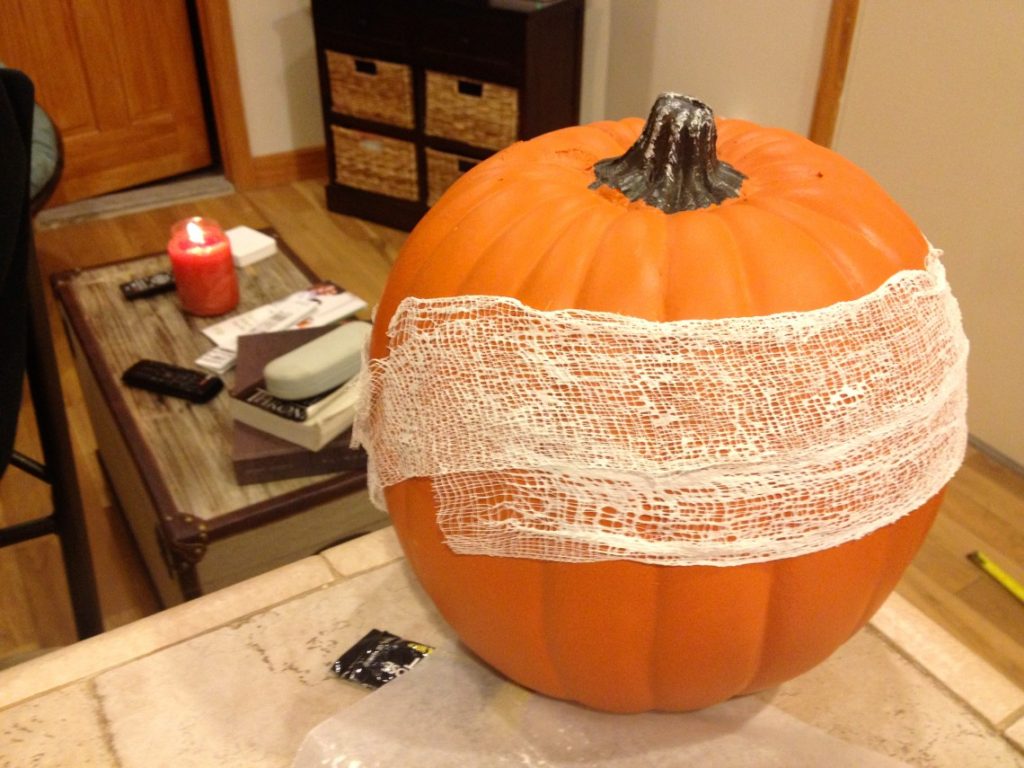
- Cut cheesecloth into 14 (you might need more) 4×12-inch strips. Fold strips in half lengthwise. Apply fabric stiffener, following manufacturer’s instructions. I laid down the cheesecloth on the wax paper and applied stiffener using a “stippling” method. This allowed me to cover more surface area using less of the fabric stiffener. The manufacturer’s instructions will tell you to wait until it’s dry to apply, but I applied immediately so it would dry to the pumpkin to act as it’s own adhesive.
- Apply strips to pumpkin while it’s wet, leaving the top and bottom of the pumpkin uncovered. I needed a little more than 14 strips. Towards the end, I cut smaller lengths to cover areas near the top and the bottom. Let dry.
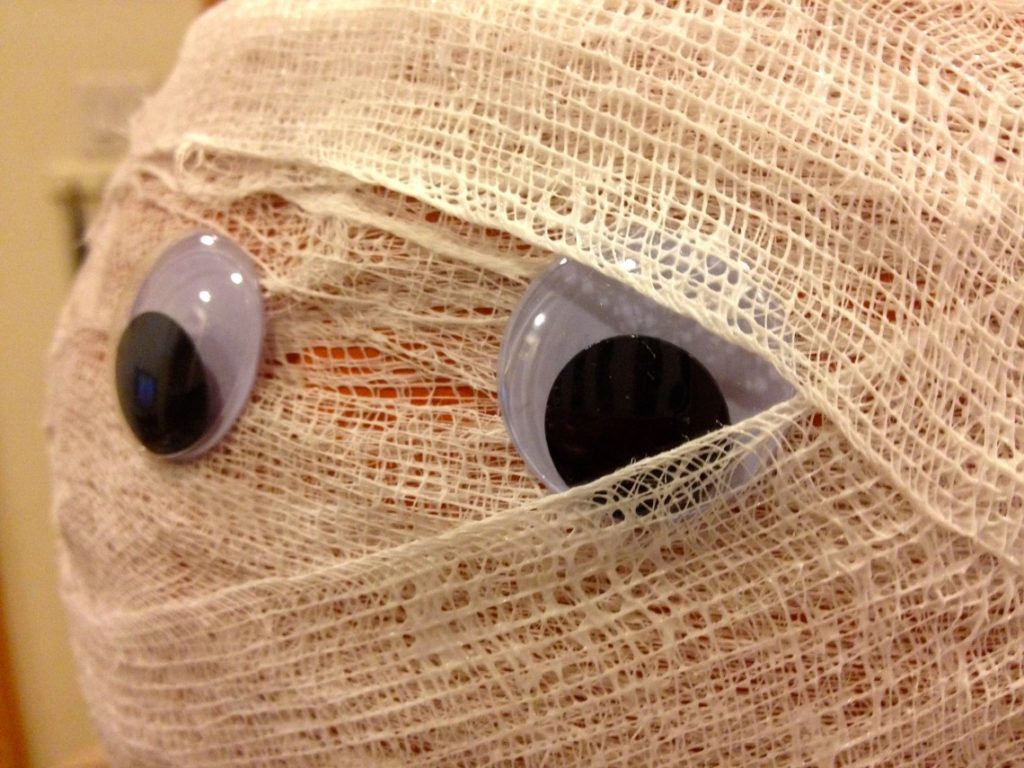
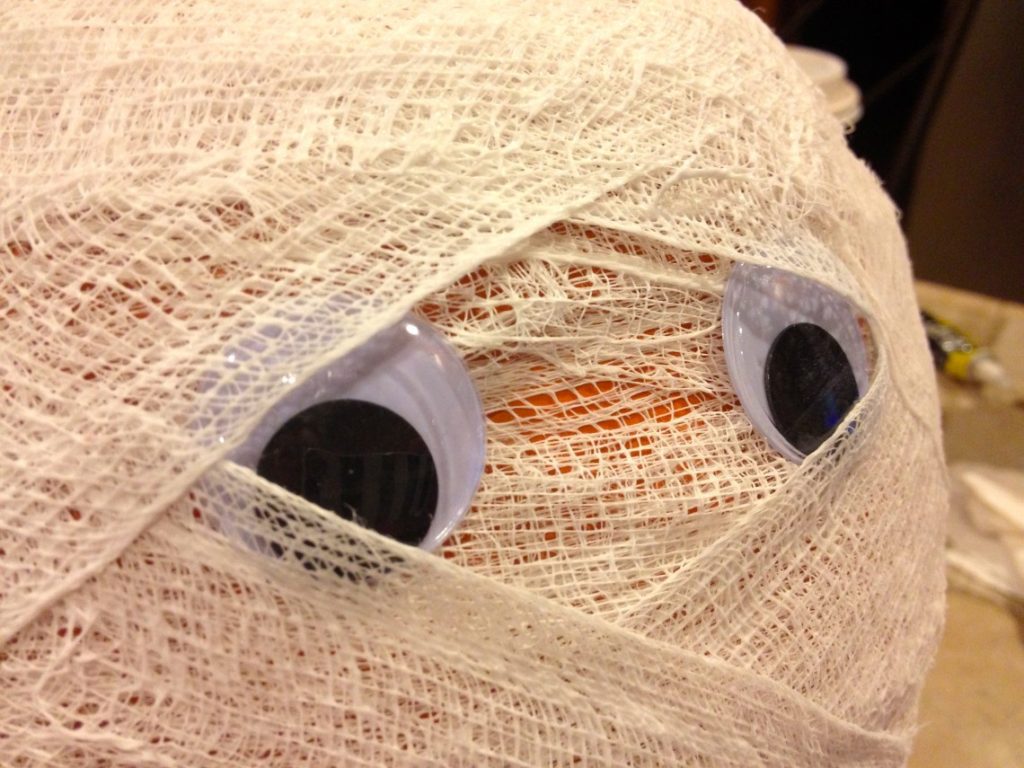
- Glue eyes to pumpkin.
- Cut four 4×6-inch strips of cheesecloth. Fold strips in half lengthwise. Apply fabric stiffener and cover each eye diagonally so a little of each eye peeks out. Let dry. (see pic below)
- Carve out a small mouth from the layers of cheesecloth using a crafts knife. Paint the inside of the mouth black.
- OPTIONAL STEP: Brush glow-in-the-dark gel paint onto cheesecloth.

I had so much fun making this cute DIY Halloween project, and if you’re interested in making one, DO IT! I got my pumpkin from Michael’s, and most of my other supplies came from a bunch of different stores, to make sure the best deals were found. Right now it’s sitting on our shelf in the living room in between 2 DIY jars of candy – Mini Reese’s Peanut Butter Cups and candy corn pumpkins 🙂