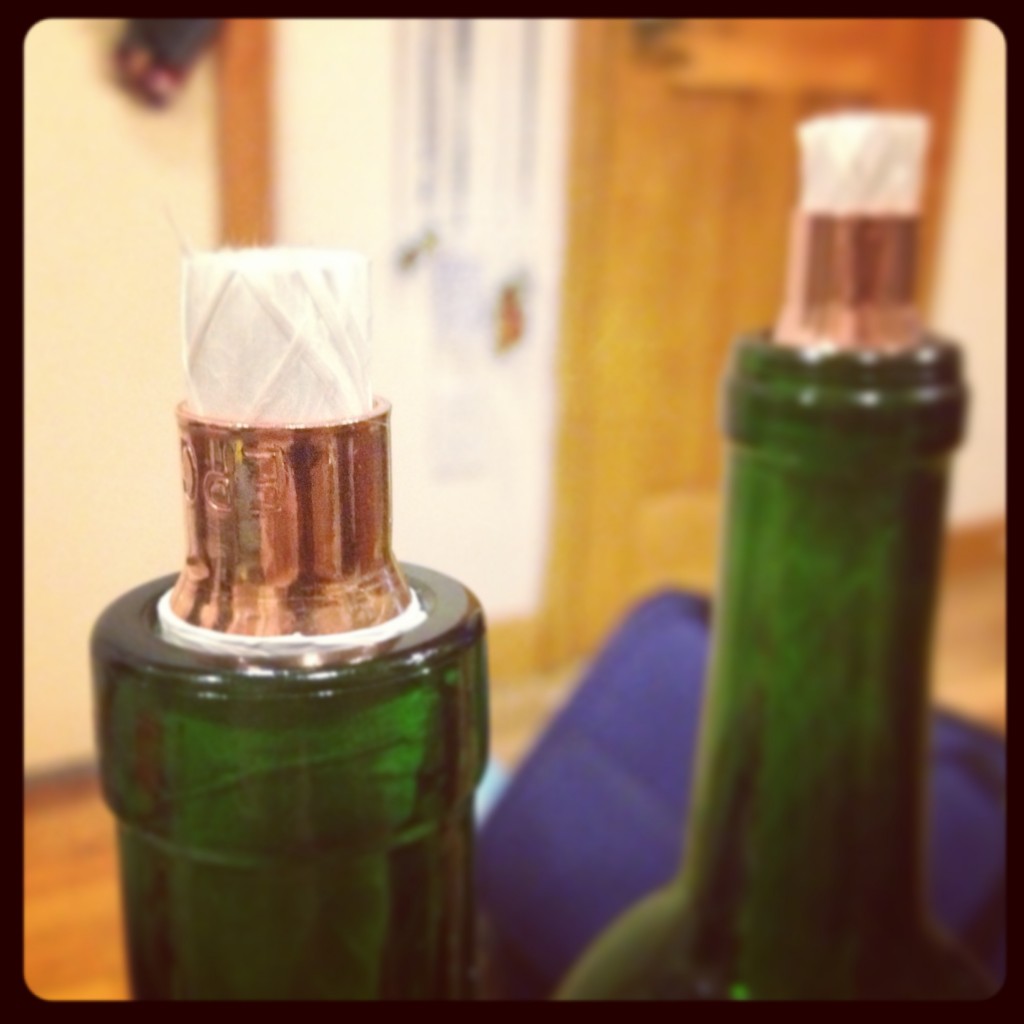
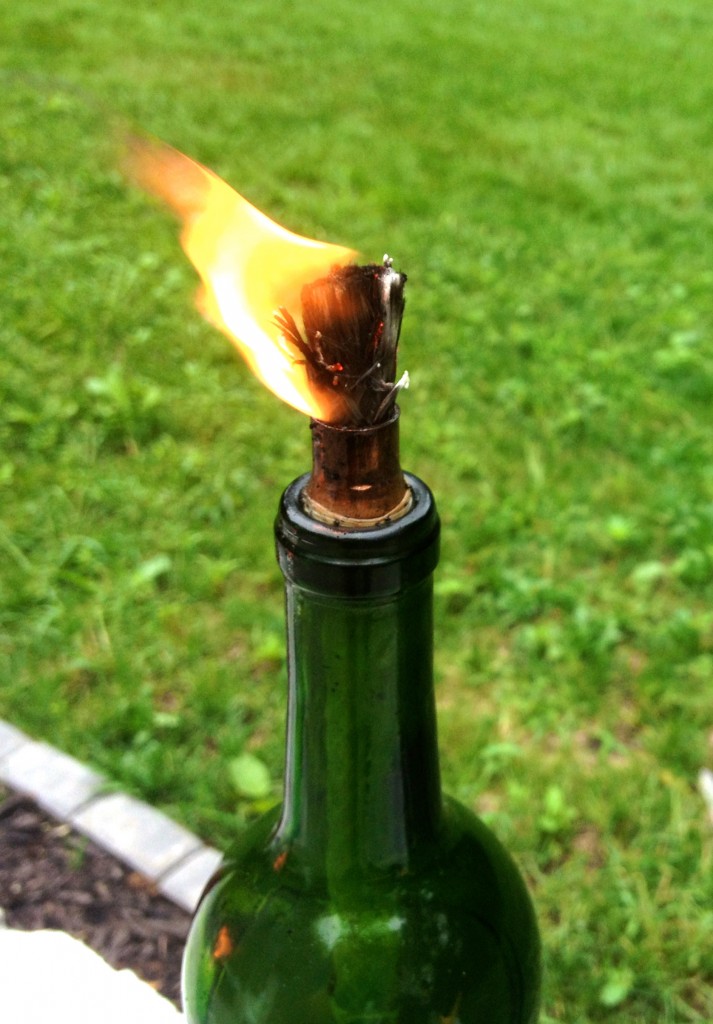
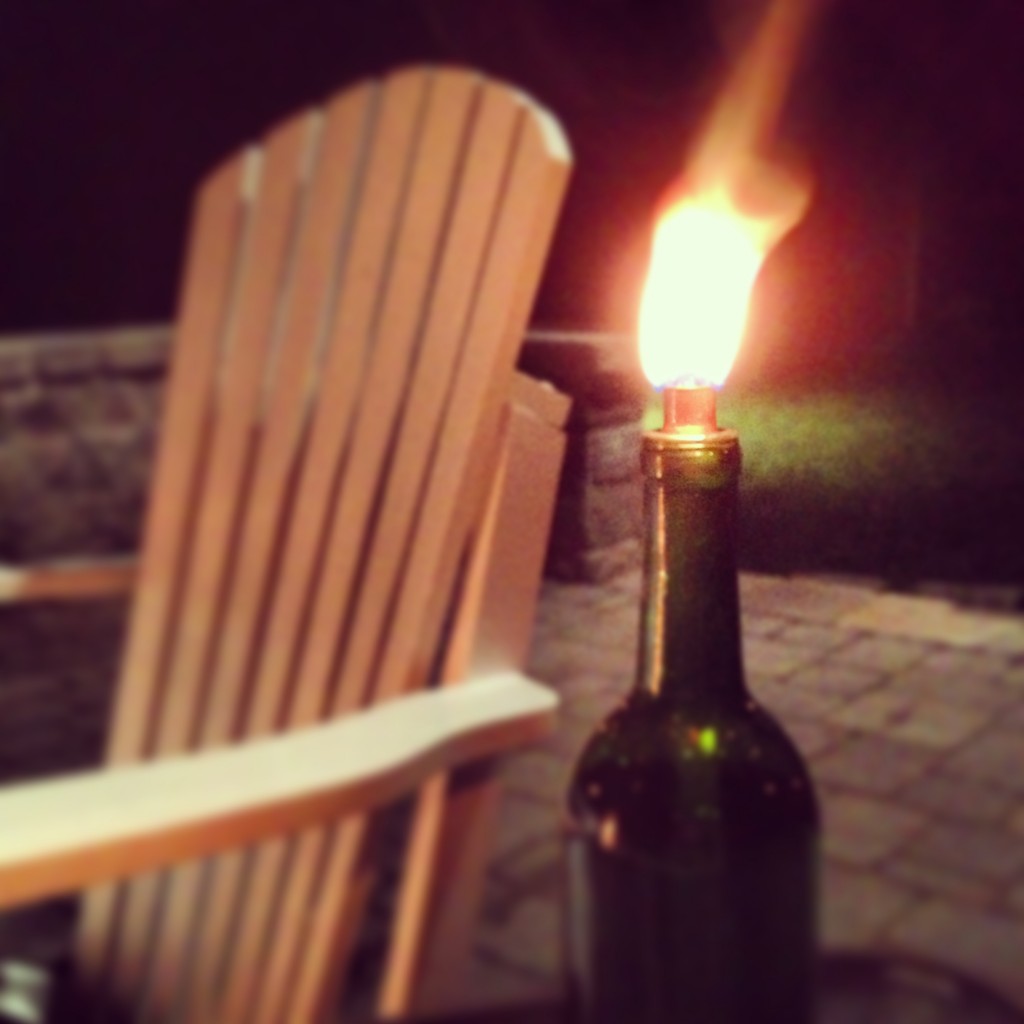
The idea for the wine bottle citronella candle came about when I saw that you could buy wine bottle torches to attach to your fence. They were way too expensive for what I had in mind, and I didn’t need it – I wanted it. So I thought I could try to make these myself, just cheaper. The best part about this is you get to buy a bottle of your favorite wine and drink it all. Finding materials to create the candle was a little more complex than I thought it would be. For the mason jars, we had a few left over from some things we made throughout the summer. I tried to mimic the coupler in the wine bottle.
Materials:
You’re going to need a few different kinds of plumbing materials for this project. For the wine bottle, you’re going to need an extension bushing coupler (see link below). The wick is only 1/2″ wide, but a wine bottle opening (for the most part) is about 3/4″. I needed something that would satisfy both sizes. But for the mason jars, I went with a simple 1/2″ coupler (see link below). Teflon tape is very thin. It will allow you to adjust the snugness of the couplers. I found all of these at ACE Hardware.
Wine Bottle:
- Wine Bottle
- Teflon Tape
- Coupler (Extension Bushing Fitting); 3/4″ x 1/2″
Instructions:
- Drink your wine, clean out the bottle, and remove the labels.
- Wrap a few layers of teflon tape around the wider base of the coupler.
- Insert into the top of the wine bottle. If the base is not snug, wrap more teflon tape around the base of the coupler.
- Remove coupler, fill with citronella tiki fluid, replace coupler, thread wick, and let sit for a few minutes.
- Light it up.
Mason Jar:
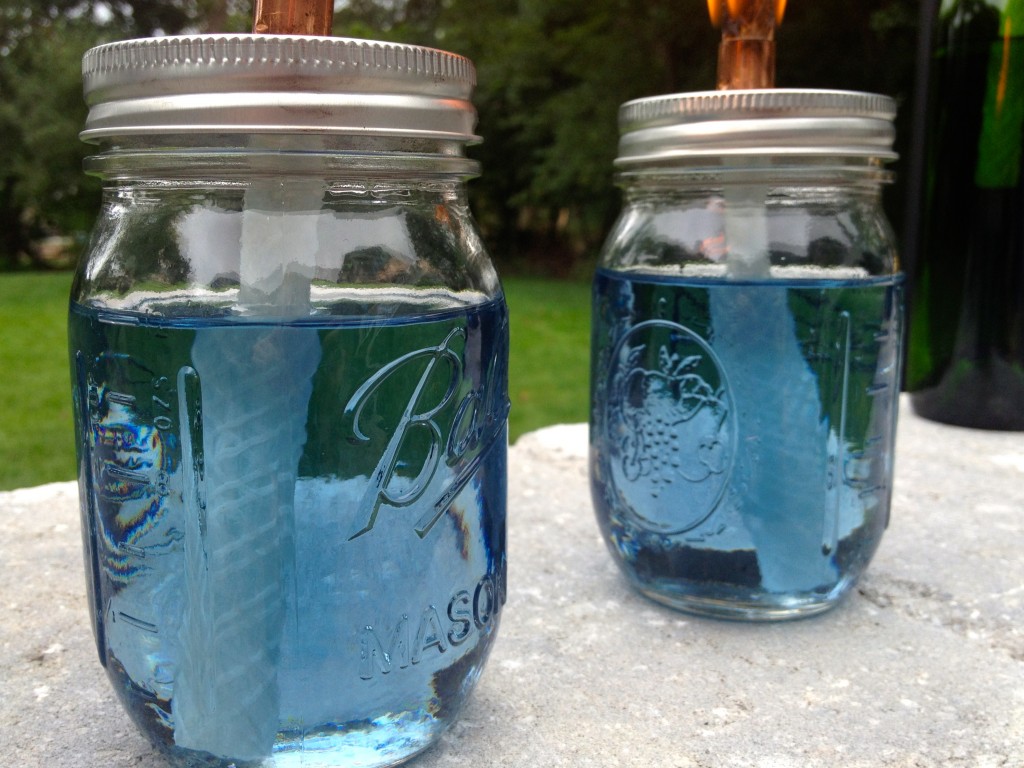
- Mason Jar
- Teflon Tape
- Coupler
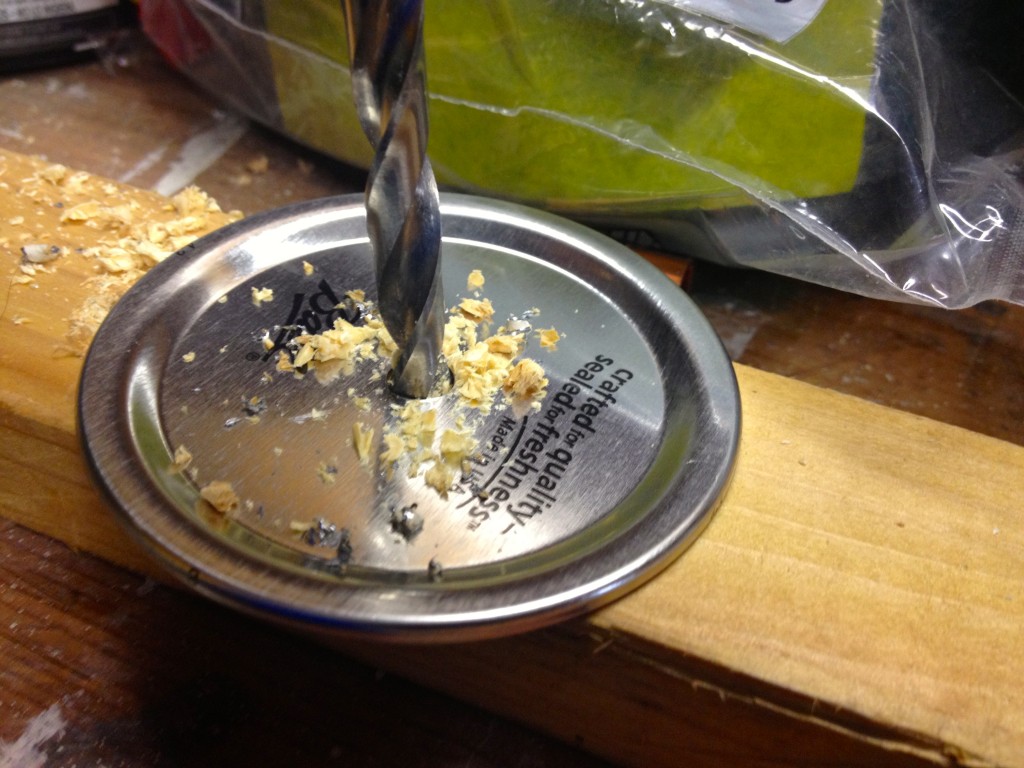
- Drill with 9/16″ drill bit
Instructions:
- Drill hole in your mason jar lid (good idea to remove the lid before doing this). See my mason jar tumbler post about the best way to drill a hole in the lid.
- Wrap teflon tape around the bottom third of the coupler. The coupler will be very snug in the hole without the tape, so just a little bit of tape is needed.
- Fit coupler in to the newly created hole. Again, it’ll be snug, so use a bit of creative touch to get the coupler into the lid.
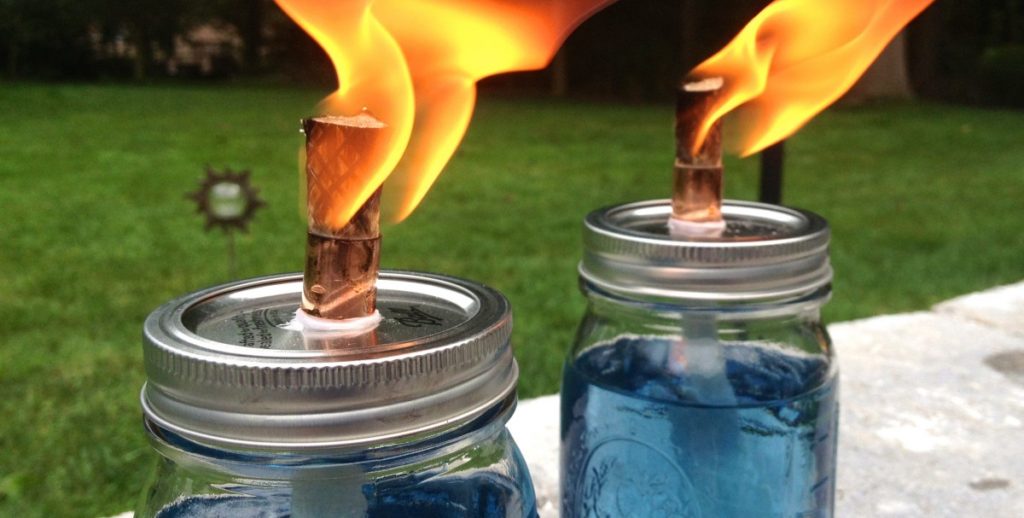
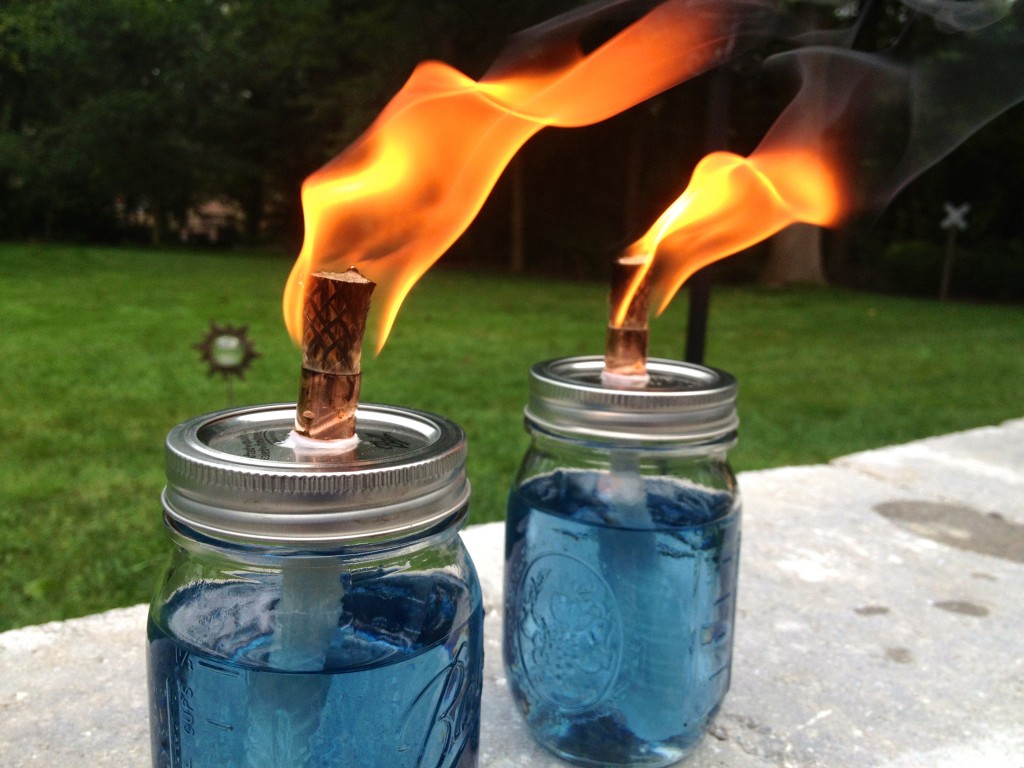
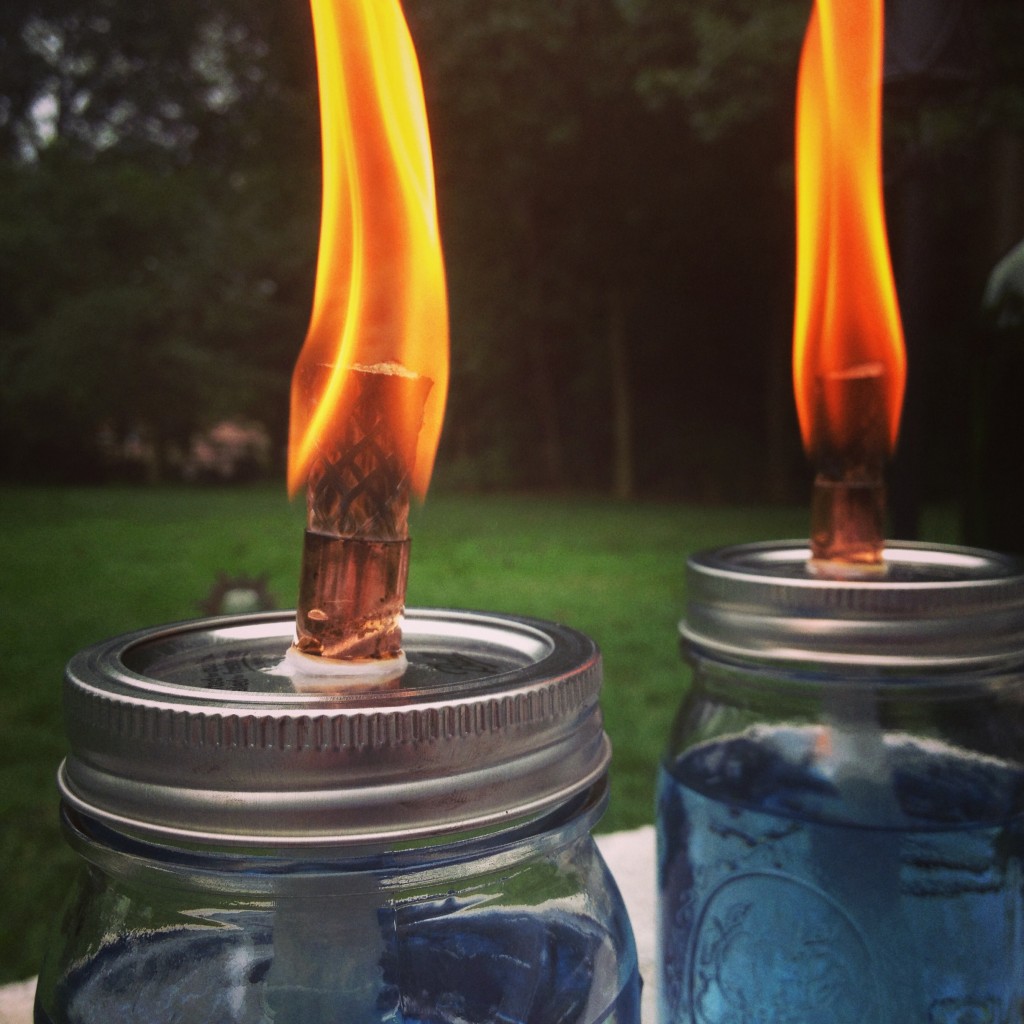
- Remove the lid, fill with tiki oil fluid, replace the lid, thread wick, and let sit for a few minutes to allow the wick to absorb the oil.
- Light it up.

is it safe to paint the bottles?
I like this idea its pretty cool. I live in lower Alabama and the mosquitoes are terrible. Ive tried the citronella candles but they didn’t seem to want to stay lit From your pics it doesn’t look like these would have much problem staying lit.I think I’ll give it a try. Thanks, DeRonald.
Where did you get the wicks??
Hi Tina – thanks for commenting. I got the wicks at Home Depot. Last summer, they had Tiki brand wicks in packages of two.